

Creating artwork that truly reflects your personality while complementing your interior can feel overwhelming. Whether you’re a homeowner wanting to add character to your living room or a designer seeking bespoke pieces for client projects, the process of designing personalised wall art doesn’t have to be mysterious. This guide walks you through each stage of creating custom artwork, from initial concept to final display, ensuring your finished piece elevates your space beautifully and authentically.
Table of Contents
- Key takeaways
- Preparing to create personalised artwork
- How to design your personalised artwork step by step
- Common mistakes and tips for personalised artwork creation
- Finishing touches and displaying your personalised artwork
- Explore custom artwork options at Frametheworld
- Frequently asked questions
Key Takeaways
| Point | Details |
|---|---|
| Thorough preparation | Measure wall space precisely and select a theme that resonates with your personality to guide material choices. |
| Materials by medium | Gather materials suited to your chosen medium, such as canvases and paints for traditional art or software and a tablet for digital work, before starting. |
| Structured design process | Follow a sequential workflow from initial sketches to final drafts to maintain control while allowing room for creative exploration. |
| Expert tips avoid mistakes | Test paint colours on small sample boards and assess how they look in your space at different times of day to account for lighting. |
| Final verification enhances impact | Review the composition and scale against the room and consider final presentation options to maximise impact. |
Preparing to create personalised artwork
Before you pick up a brush or open design software, thorough preparation involves selecting suitable materials, understanding space dimensions, and choosing a theme to align with decor. Start by measuring your wall space precisely, noting width, height, and any architectural features like windows or alcoves that might influence placement. These measurements determine canvas size and orientation, ensuring your finished piece fits proportionally.
Next, identify a theme that resonates with your personality whilst complementing existing furnishings. Consider whether you want abstract expressionism, botanical illustrations, geometric patterns, or photographic collages. Your theme should feel authentic to you rather than following fleeting trends. Walk through your space and observe existing colours, textures, and mood to inform your artistic direction.
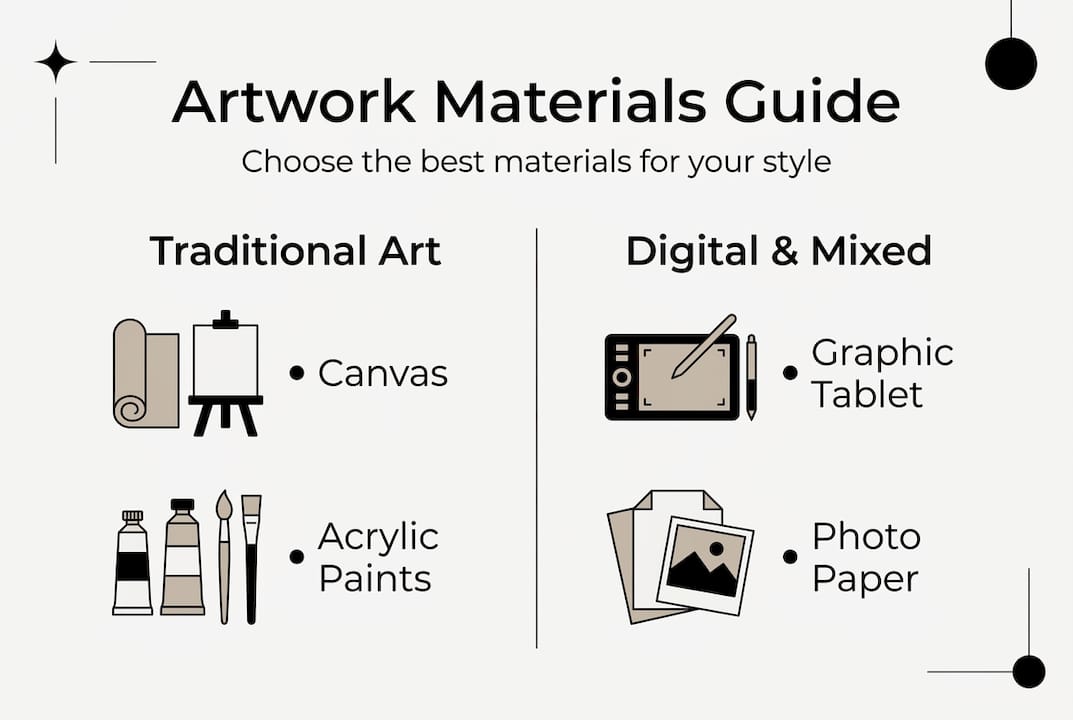
Gathering materials depends on your chosen medium. For traditional painting, you’ll need canvases, acrylic or oil paints, various brush sizes, palette knives, and mixing trays. Digital creators require design software, a graphics tablet, and access to professional printing services. Photography enthusiasts need a quality camera, editing software, and printing specifications. Understanding the role of art in home style helps you select materials that serve both aesthetic and functional purposes.
Materials overview for different artwork styles
| Material type | Approximate cost | Best suited for | Skill level required |
|---|---|---|---|
| Acrylic paint set with canvases | £40-£80 | Bold, colourful abstracts | Beginner to intermediate |
| Watercolour supplies | £30-£60 | Soft, delicate botanicals | Intermediate |
| Digital design software subscription | £10-£50/month | Geometric patterns, typography | Intermediate to advanced |
| Photography equipment and editing | £200-£800 | Personalised photo collages | Intermediate |
| Mixed media supplies | £50-£120 | Textured, layered compositions | Advanced |
Create an inspiration board using Pinterest, magazine clippings, or fabric swatches to visualise your colour palette and compositional elements. This reference point keeps your creative process focused and prevents you from straying too far from your original vision. Consider how natural and artificial lighting in your space will interact with colours and finishes.
Pro Tip: Test paint colours on small sample boards and view them in your space at different times of day before committing to your final palette, as lighting dramatically affects colour perception.
How to design your personalised artwork step by step
With materials assembled and concept defined, you’re ready to execute your personalised artwork through a structured design process that enhances creativity and final results. Following these sequential steps ensures you maintain control whilst allowing room for spontaneous creative decisions.
-
Sketch preliminary concepts: Begin with rough pencil sketches exploring different compositions, even if you’re working digitally. These initial drawings help you experiment with placement, scale, and balance without committing resources. Create at least three variations to compare options objectively.
-
Refine your colour palette: Select three to five main colours that harmonise with your room’s existing scheme. Use colour theory principles like complementary or analogous palettes to create visual interest. Limit your palette initially to maintain cohesion and prevent your artwork from feeling chaotic.
-
Choose your technique: Decide whether you’ll hand-paint, create digital prints, use mixed media, or combine photography with graphic elements. Each technique offers distinct aesthetic qualities. Hand-painting provides texture and originality, whilst digital methods allow precise control and easy reproduction.
-
Create detailed drafts: Develop your strongest sketch into a detailed draft, mapping out where each colour and element will sit. For digital work, create layers for different components. For traditional painting, lightly outline your composition on canvas using pencil or charcoal.
-
Prepare your surface: Prime canvases with gesso for traditional painting, or ensure your digital file meets printing specifications for resolution and colour mode. Proper surface preparation prevents paint absorption issues and ensures colours appear as intended.
-
Execute in stages: Work in layers, allowing adequate drying time between applications. Start with background elements and progress to foreground details. For digital work, save versions frequently to preserve options for revision. Build complexity gradually rather than attempting everything simultaneously.
-
Step back regularly: View your work from the distance it will be displayed to assess composition and balance. What looks perfect up close might lack impact from across the room. Make adjustments to contrast, scale, or colour intensity as needed.
Exploring custom art prints benefits reveals how professional printing services can reproduce your original designs at various sizes, allowing you to create series or test different scales. Understanding framed print art home decor applications helps you envision how your finished piece will integrate into your space.
Pro Tip: Use a limited colour palette of three to five hues to maintain visual cohesion and prevent your artwork from feeling overwhelming or disjointed, especially in smaller spaces.
Common mistakes and tips for personalised artwork creation
Even experienced creators encounter obstacles when producing personalised artwork. Awareness of common mistakes helps novices improve technique and satisfaction, allowing you to sidestep frustrations that derail projects or produce disappointing results.
Overcomplicating your design ranks among the most frequent errors. Beginners often attempt to incorporate too many colours, patterns, or focal points, resulting in visual chaos rather than cohesive artwork. Simplicity often delivers greater impact than complexity. Focus on one or two strong elements rather than cramming multiple ideas into a single piece.
Scale mismatches create another common problem. Artwork that’s too small for a large wall feels insignificant and lost, whilst oversized pieces in compact spaces overwhelm rather than enhance. As a general guideline, artwork should occupy roughly two-thirds to three-quarters of the wall width in the area you’re decorating. Multiple smaller pieces can be grouped to fill space effectively.
Neglecting proper surface preparation leads to poor paint adhesion, uneven colour application, and shortened artwork lifespan. Always prime canvases thoroughly and allow adequate drying time before painting. For digital work, ensure your files meet professional printing specifications for resolution, colour mode, and bleed areas.
Impatience with drying times causes smudging, colour mixing, and texture problems. Acrylic paints dry relatively quickly, but oils require days or weeks between layers. Rushing this process compromises your final result. Plan your project timeline to accommodate proper curing.
“Patience and planning separate amateur attempts from professional-quality personalised artwork. Allow each stage the time it deserves, and your finished piece will reflect the care invested in its creation.”
Failing to test colours in your actual space before committing represents another avoidable mistake. Colours appear dramatically different under various lighting conditions and alongside different furnishings. Create small test samples and observe them throughout the day before proceeding with your full artwork.
Ignoring composition principles like the rule of thirds, balance, and negative space results in artwork that feels awkward or unfinished. Study basic design principles or analyse artwork you admire to understand what makes compositions visually satisfying.
Finishing touches and displaying your personalised artwork
After investing time and creativity into your personalised piece, presenting and protecting artwork properly prolongs its life and enhances style appeal. These final steps transform your creation from a project into a polished decorative element.
Apply appropriate protective finishes based on your medium. Acrylic paintings benefit from clear acrylic varnish in gloss, satin, or matte finishes depending on your aesthetic preference. Oil paintings require oil-based varnishes applied only after complete curing, typically six months to a year. Watercolours need UV-protective glass when framed to prevent fading. Digital prints on canvas can be sealed with spray varnish for added protection.
Framing decisions significantly impact how your artwork integrates into your space. Traditional wood or metal frames provide classic elegance and protection, whilst floating frames create contemporary, gallery-style presentation. Canvas wraps without frames suit modern, minimalist interiors. Your choice should complement both the artwork’s style and your room’s existing aesthetic.
Framing options comparison
| Framing type | Visual effect | Cost range | Best for | Maintenance |
|---|---|---|---|---|
| Traditional wood frame | Classic, warm, versatile | £30-£150 | Period homes, traditional art | Dust regularly, avoid moisture |
| Metal frame | Modern, sleek, minimal | £25-£100 | Contemporary spaces, photography | Wipe clean, resistant to damage |
| Floating frame | Gallery-style, sophisticated | £40-£120 | Canvas art, modern interiors | Minimal, dust occasionally |
| Canvas wrap (no frame) | Casual, contemporary | £15-£50 | Bold abstracts, informal spaces | Dust edges, touch up sides if needed |
| Box frame with mount | Professional, dimensional | £50-£180 | Delicate work, mixed media | Glass cleaning, protect from impact |
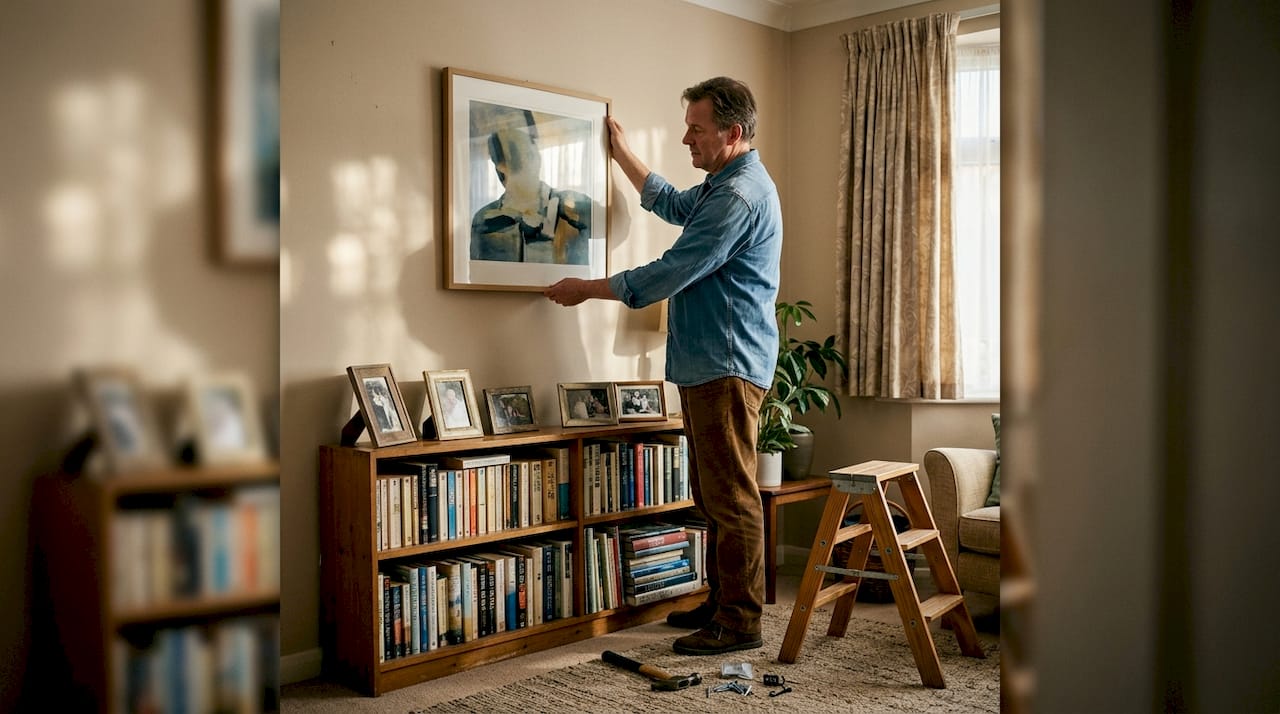
Placement considerations extend beyond simply finding empty wall space. Position artwork at eye level, typically with the centre point 145-150 centimetres from the floor. In rooms where people are usually seated, like dining rooms, lower this slightly. Ensure adequate lighting to showcase your work without creating glare. Picture lights or adjustable spotlights allow you to highlight your artwork effectively.
Consider the viewing distance when selecting placement. Large, bold pieces work well in spacious rooms where they can be appreciated from across the space. Detailed, intricate artwork suits closer viewing positions like hallways or above furniture where observers naturally pause.
Understanding framed print art home decor applications helps you make informed decisions about presentation. Exploring how to decorate living room walls provides context for integrating your personalised artwork into broader decorating schemes.
Pro Tip: Rotate your artwork’s placement or adjust lighting seasonally to keep the visual experience fresh and prevent your space from feeling static or predictable.
Explore custom artwork options at Frametheworld
Whilst creating your own personalised artwork offers immense satisfaction, professional services provide valuable alternatives when time, skill, or inspiration constraints arise. Frametheworld specialises in high-quality wall art that complements DIY efforts or offers ready-made solutions for those seeking professional results.
Their wabi sabi wall art collection embraces imperfection and natural beauty, perfect for creating serene, contemplative spaces. For those preferring vibrant, energetic aesthetics, the pop art wall art range delivers bold colour and graphic impact. These curated collections provide starting points for homeowners and designers seeking distinctive style without starting from scratch.
Frametheworld’s custom print service allows you to transform your own designs, photographs, or artwork into professionally produced prints at various sizes. This bridges the gap between DIY creation and professional finishing, ensuring your personalised concepts receive museum-quality reproduction and presentation.
Frequently asked questions
What basic supplies do I need to start personalised artwork?
Beginners should start with stretched canvases or watercolour paper, a basic acrylic paint set including primary colours plus black and white, three brush sizes (small detail, medium, large flat), a palette for mixing, and water containers. This minimal kit costs approximately £40-£60 and covers most beginner projects. Add supplies gradually as you develop preferences and skills.
How long does it typically take to complete a custom artwork piece?
Timelines vary dramatically based on complexity, medium, and experience level. Simple abstract pieces might take 4-6 hours over one or two sessions, whilst detailed realistic work or mixed media compositions can require 20-40 hours spread across several weeks. Factor in drying time between layers, which adds days or weeks depending on your medium. Digital artwork often progresses faster once you master the software.
Can I incorporate photos or digital elements into personalised artwork?
Absolutely. Mixed media approaches combining printed photographs with painting, collage elements, or digital manipulation create unique, contemporary artwork. Print photos on canvas or quality paper, then enhance with painted details, text, or abstract elements. Alternatively, scan hand-painted elements and combine them digitally before printing. This hybrid approach suits creators wanting photographic realism with artistic interpretation.
What are the best finishes for protecting handmade paintings?
Acrylic paintings benefit from clear acrylic polymer varnish applied in thin, even coats with a soft brush or spray. Choose gloss for vibrant colour enhancement, satin for subtle sheen, or matte for no reflection. Oil paintings require oil-based varnish but only after complete drying, typically six months minimum. Watercolours need UV-protective glass rather than surface varnish. Always work in well-ventilated spaces and follow manufacturer instructions.
How do I choose the right frame style for my artwork?
Match your frame to both the artwork’s aesthetic and your room’s existing style. Traditional paintings suit ornate wood frames, whilst contemporary abstracts pair well with simple metal or floating frames. Consider the artwork’s colours when selecting frame finish. Lighter frames suit delicate, airy pieces, whilst dark frames add drama and weight. When uncertain, neutral frames in black, white, or natural wood offer versatile options that complement most styles without competing for attention.


Leave a comment
This site is protected by hCaptcha and the hCaptcha Privacy Policy and Terms of Service apply.