
Choosing the perfect wall art for your living room can feel more personal than picking paint colours or furniture. The way your space looks and feels is shaped not just by your taste, but by how your room is used, how light fills the space, and the mood you want to create. A thoughtful approach, including a style assessment guided by resources like the Designer Society of America’s interior design style quiz, ensures your décor feels both intentional and uniquely yours. Understanding your living room’s unique qualities and your personal style is the foundation for truly satisfying wall art choices.
Table of Contents
- Step 1: Assess Your Living Room Space And Style Preferences
- Step 2: Select Suitable Wall Art And Decorative Prints
- Step 3: Plan Wall Layouts And Position Artworks Strategically
- Step 4: Install Art Pieces Securely And Neatly
- Step 5: Verify Visual Balance And Overall Harmony
Quick Summary
| Important Insight | Explanation |
|---|---|
| 1. Assess your space and style | Measure your living room and observe light to define your aesthetic direction for wall art placement. |
| 2. Choose artwork thoughtfully | Select pieces based on personal preference and their relationship to existing décor and lifestyle needs. |
| 3. Plan wall arrangements carefully | Sketch layouts or use templates to ensure visual harmony and prevent costly installation mistakes. |
| 4. Install art securely and neatly | Use appropriate hardware based on artwork weight; measure and level everything before commitment. |
| 5. Evaluate balance and harmony over time | Live with your arrangement, making observations and adjustments as necessary to ensure cohesion. |
Step 1: Assess your living room space and style preferences
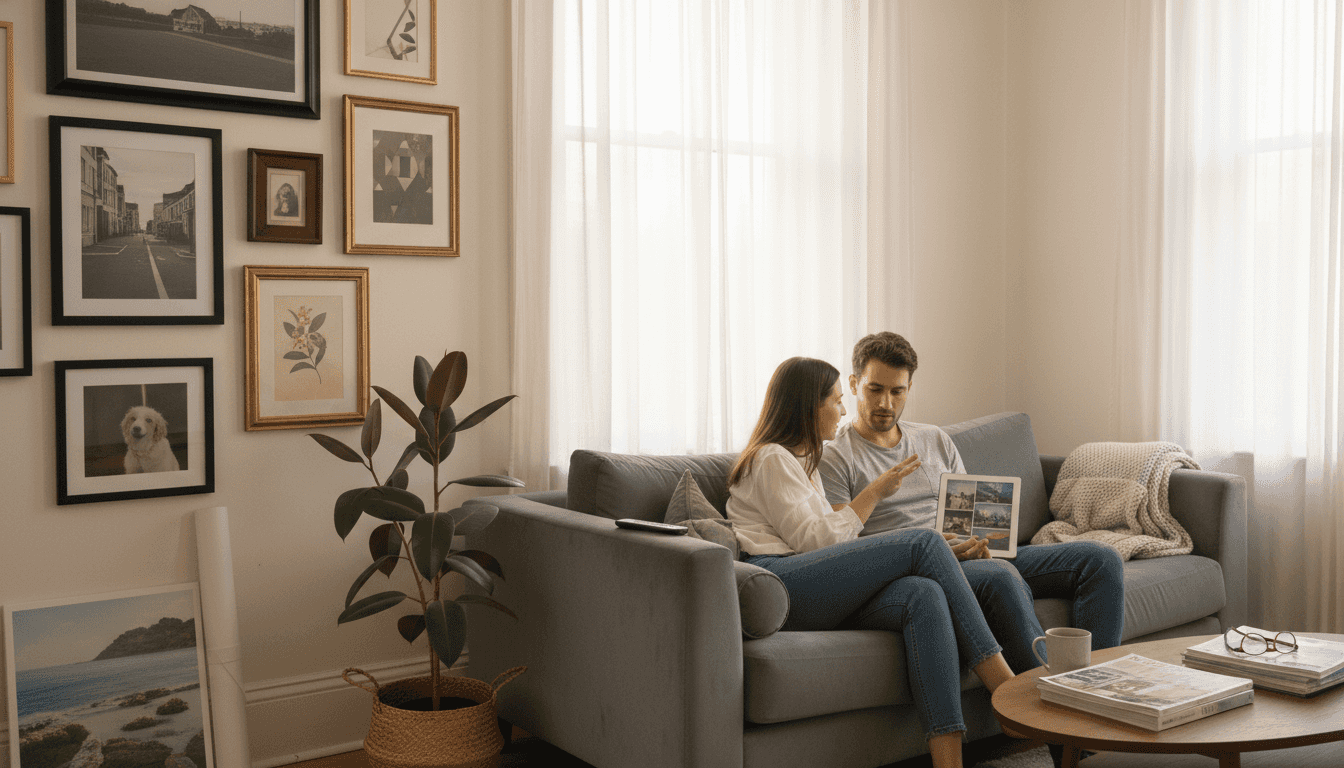
Before you buy a single piece of wall art or plan your décor scheme, take time to understand both your physical space and what actually appeals to you aesthetically. This foundation step determines whether your living room will feel cohesive and intentional, or like a collection of random choices that don’t quite work together. The good news is that this process doesn’t require expensive consultants or complicated tools.
Start by measuring your living room and observing how light moves through it throughout the day. Natural light transforms colours dramatically, so if your walls receive soft morning light, your colour choices will look entirely different than in a north-facing room with minimal sunshine. Walk around at different times and notice which walls get direct sunlight and which stay shadowed. Check the dimensions of your walls too, as this influences what size artwork will feel proportionate. A massive living room can handle bold, large-scale pieces, whilst a cosier space benefits from medium-sized works or gallery-style groupings.
Your furniture arrangement also matters considerably. Identify your main seating area and any focal points where you’ll want artwork to anchor the space. Is there a sofa you want art above? A feature wall that needs attention? Understanding how people naturally move through and use your living room helps you place pieces where they’ll genuinely be seen and appreciated, rather than disappearing into visual clutter.
Now for the style assessment. Rather than guessing or scrolling endlessly online, try a structured approach. An interior design style quiz guides you through specific considerations like your preferred furniture aesthetics, decorative patterns, lighting preferences, and art styles. This helps clarify whether you’re drawn to minimalist spaces, maximalist expression, traditional elegance, or contemporary energy.
Think about your lifestyle too. Do you entertain frequently? Is this a quiet retreat space? Are children or pets part of your daily life? These practical factors shape what styles work beyond just visual preference. A busy household needs different design solutions than a peaceful sanctuary.
Consider existing colours in your room. What’s on your walls currently? What colour are your main furniture pieces? Your new wall art should either complement these existing elements or deliberately contrast with them as a statement. When assessing your space, understanding how lifestyle and functional use align with your design preferences ensures your choices feel authentic to how you actually live.
Once you’ve walked your space, taken measurements, and identified your style direction, you’re ready to think about actual pieces. Pay attention to what genuinely stops you when browsing. Do you find yourself repeatedly drawn to certain colours, themes, or artistic approaches? That instinct matters more than following trends.
Here is a concise comparison of common living room art styles and their key characteristics:
| Style Type | Key Features | Best for Spaces | Colour Palette |
|---|---|---|---|
| Minimalist | Clean lines, few elements | Small or calm rooms | Neutral, monochrome |
| Maximalist | Bold, layered, eclectic | Large or lively areas | Bright, rich mix |
| Traditional | Classic, ornate, timeless | Formal living rooms | Warm, subdued tones |
| Contemporary | Modern, abstract, dynamic | Open-plan layouts | Contrasting, vivid pops |
| Scandinavian | Natural, airy, functional | Light-filled spaces | Soft pastels, white, grey |
Your living room walls should reflect genuine preferences you’ll enjoy looking at for years, not what design magazines suggest you should like.
- Measure wall space and note natural light patterns
- Identify key focal points and furniture placement
- Complete a style assessment to clarify your aesthetic direction
- Consider your lifestyle and how you actually use the space
- Document existing colours and elements you’re working with
Pro tip: Take photos of your living room from different angles and at various times of day, then overlay your phone’s colour picker tool on these images. This shows you exactly how natural light affects colours in your specific space, preventing purchasing mistakes later.
Step 2: Select suitable wall art and decorative prints
Now that you understand your space and style direction, it’s time to find actual pieces that will transform your living room. This step bridges the gap between knowing what you want and discovering art that genuinely speaks to you and fits your walls beautifully. The selection process should feel enjoyable, not overwhelming.
Start by considering what subjects and styles genuinely appeal to you. Do landscape paintings draw your eye? Are you drawn to abstract work, portraiture, or botanical themes? Think about colour palettes that complement your room without clashing with existing furnishings. Neutral artwork works brilliantly in most spaces, but bold colours can anchor a room if your furniture is relatively understated. Scale matters enormously too. A small print on a large blank wall will look lost, whilst oversized artwork in a compact room can feel suffocating. Measure your wall space and consider artwork that fills roughly 50 to 75 percent of the available wall area above a sofa or console table.
When selecting actual pieces, you have multiple options. Free art collections from established galleries offer thousands of high-quality images spanning classical to contemporary styles, giving you genuine variety without financial commitment for inspiration. Once you’ve identified styles you love, explore what’s available through retailers. Look for pieces that balance visual interest with the overall harmony of your room. Some people prefer matching sets or coordinated frames, whilst others embrace eclectic collections that feel more personal and curated.
Consider your lifestyle when choosing prints. If you have young children or pets, you might prioritise pieces that are easily replaceable or less precious than original artwork. Art prints offer flexibility here, allowing you to refresh your space seasonally or as your tastes evolve without significant investment. If you want something uniquely tailored to your space, customisation options exist. You can personalise artworks by size, frame, and finish to create pieces that fit your exact requirements and aesthetic vision.
Think about framing and presentation too. A beautiful print can be undermined by poor framing, whilst good framing elevates even modest artwork. Wooden frames suit traditional and Scandinavian aesthetics, black frames provide contemporary edge, and white frames offer clean simplicity. Matting can add sophistication and help artwork sit comfortably within a larger wall space.
The following table outlines potential framing choices and their visual impact on your living room’s décor:
| Frame Type | Visual Effect | Matches Interior with… |
|---|---|---|
| Black | Sleek, modern contrast | Contemporary, industrial, bold |
| White | Bright, clean simplicity | Minimalist, Scandinavian |
| Natural Wood | Warm, organic touch | Rustic, traditional, earthy tones |
| Metallic | Glamorous, reflective | Glam, luxury, art deco styles |
One practical approach is to gather inspiration visually before committing. Create a mood board by saving images of artwork you love, noting their colours, styles, and subjects. You’ll often spot patterns in what appeals to you, which guides your final selections. Don’t rush this step. Living with artwork is personal, and pieces you love today should still bring you joy months from now.
The best wall art is what resonates with you personally, not what fits a design trend or completes a Instagram-worthy room.
- Consider colour palettes that complement your existing décor
- Choose artwork scales that fill 50 to 75 percent of available wall space
- Decide whether you prefer coordinated sets or eclectic collections
- Think about maintenance and durability given your household’s needs
- Gather inspiration before making final selections
Pro tip: Use painter’s tape to outline potential artwork placement on your wall and live with it for a few days before purchasing. This prevents expensive mistakes and helps you visualise whether the size, scale, and position genuinely work with your space and furniture arrangement.
Step 3: Plan wall layouts and position artworks strategically
With your artwork selected, the real magic happens when you plan exactly how to arrange it on your walls. Strategic positioning transforms individual pieces into a cohesive gallery that enhances your entire living room. This step requires a bit of planning, but it prevents costly mistakes and ensures your final result looks intentional rather than haphazard.
Begin by understanding your wall space in detail. Measure the dimensions of each wall you plan to decorate and note any architectural features like windows, doors, or built-in shelving. These elements influence what you can place where. A large blank wall above a sofa offers different possibilities than a narrow wall between two doorways. Consider traffic flow too. Artwork positioned at eye level as people enter a room creates immediate visual impact, whilst pieces positioned too high or too low become afterthoughts.

One effective approach is to sketch your layout on paper before committing to wall placement. Creating scaled floor plans allows you to test arrangement ideas using templates that represent your artwork at true proportions. This simple technique prevents the frustration of hanging pieces only to discover they don’t work together. You can cut out paper representations of your artwork and rearrange them until the composition feels balanced.
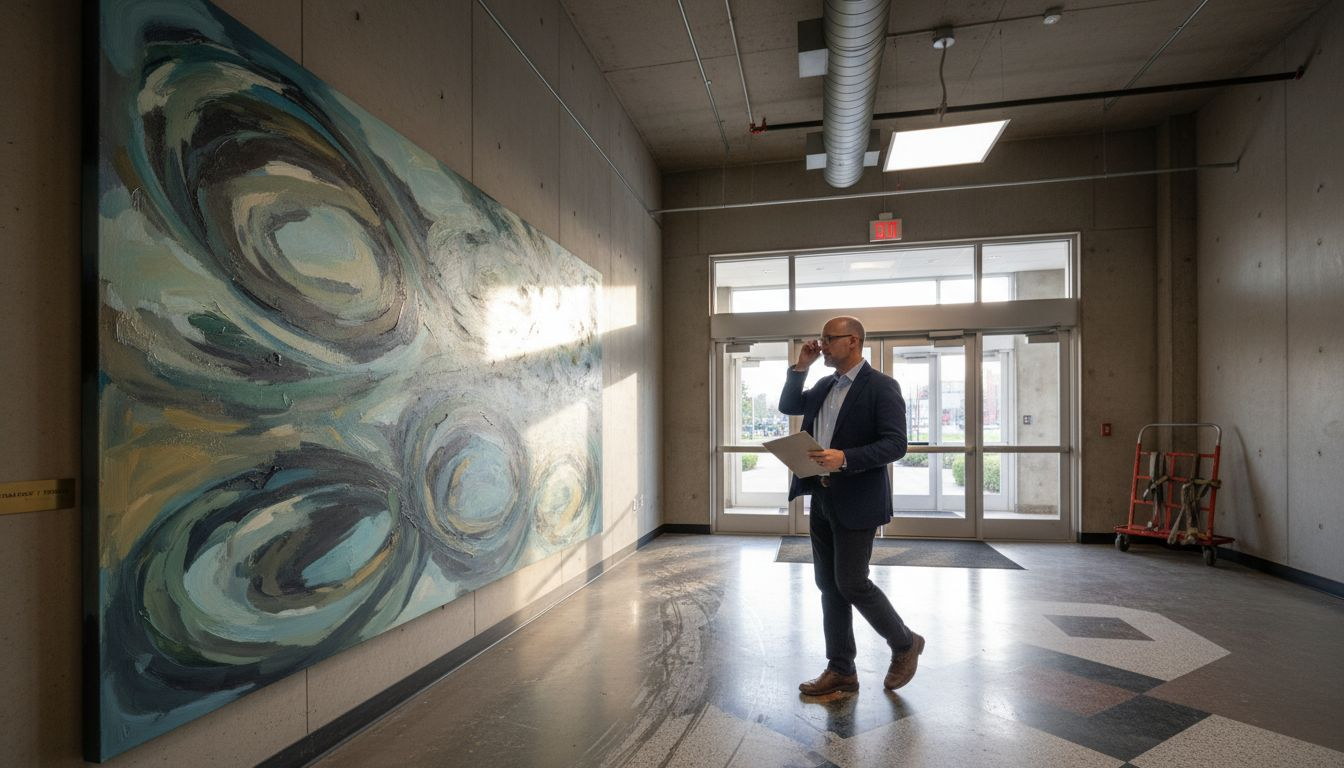
Think about how your pieces relate to one another. Grouping artwork creates visual interest, but random placement feels chaotic. Visual harmony depends on proximity and repetition, meaning pieces that share similar themes, colours, or frame styles work better together than completely disparate elements scattered randomly across walls. A gallery wall grouping typically works best when pieces are positioned with consistent spacing, usually two to three inches apart. Alternatively, a single large statement piece can anchor a wall without needing companions.
Consider the relationship between your artwork and furniture. Artwork above a sofa should relate proportionally to the furniture beneath it, typically covering about 60 to 75 percent of the wall width. Centring it matters too. A painting hung slightly off-centre looks accidental rather than intentional. If you’re creating a gallery arrangement, aim for balance overall, even if individual pieces aren’t symmetrically placed.
Height is critical but often overlooked. The centre of your artwork should typically be positioned at eye level, roughly 57 to 60 inches from the floor. This creates a natural focal point as people move through your space. In rooms with high ceilings, you can position pieces higher, but maintain this relationship to the viewing distance and furniture arrangement.
Think about negative space too. The area around your artwork matters as much as the pieces themselves. Overcrowding walls makes spaces feel cluttered, whilst generous spacing creates an airy, curated feel. Start with fewer pieces and add gradually if spaces feel empty after living with your arrangement for a week or two.
Successful wall layouts balance visual interest with breathing room, creating spaces that feel intentional without appearing overcrowded.
- Measure walls and note architectural features before planning
- Test arrangements using scaled paper templates
- Position artwork centres at 57 to 60 inches from floor for eye-level viewing
- Maintain proportional relationships between artwork and furniture
- Use consistent spacing of two to three inches in gallery arrangements
- Allow negative space to enhance rather than overwhelm your composition
Pro tip: Use painter’s tape to mark the outline of each piece on your wall before making any holes. This lets you live with the arrangement for several days, make adjustments easily, and confirm everything looks balanced from your favourite seating spot before committing to permanent installation.
Step 4: Install art pieces securely and neatly
Installation is where your carefully planned wall arrangement becomes reality. Proper installation ensures your artwork stays secure, looks polished, and won’t damage your walls or pose safety risks. This step demands attention to detail, but the process is straightforward once you understand the fundamentals of hardware selection and hanging technique.
Start by assessing what you’re hanging. Different artwork types require different approaches. Lightweight framed prints need basic wall hooks, whilst heavier pieces and textured artwork demand sturdier solutions. Using appropriate hardware that supports the artwork’s weight prevents accidents and keeps your walls pristine. Standard drywall anchors work for lighter pieces under 5 kilograms, but anything heavier should be anchored into wall studs using long-shanked eye-hooks or professional-grade picture hangers. If you’re uncertain whether studs are necessary, err on the side of caution and locate them using a stud finder.
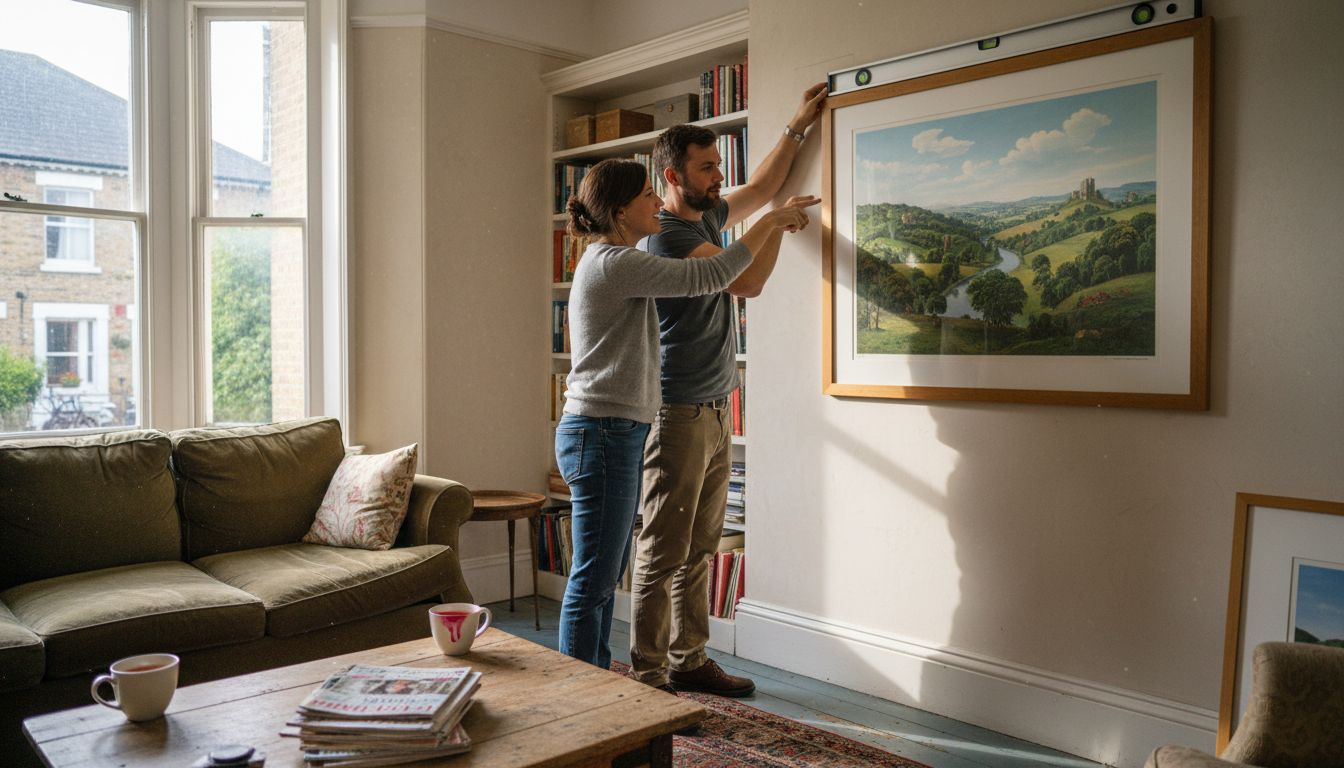
Gather your installation tools before you begin. You’ll need a level, tape measure, pencil, hammer, drill if using studs, and appropriate fasteners for your wall type. Before making any holes, use your previously marked painter’s tape outline to double-check placement. Use a level to ensure horizontal pieces are genuinely level, as even slightly tilted artwork looks careless. For vertical pieces, confirm they’re plumb using your level’s vertical guide.
When hanging gallery wall arrangements, work methodically from the centre outward. Start with your middle piece and level it carefully, then work your way out in both directions. This prevents compounding small errors across multiple pieces. If you’re hanging delicate or valuable pieces, consider using picture rails or professional hanging systems rather than traditional nails. These methods distribute weight more evenly and allow for easy repositioning without wall damage.
For unusual artwork materials, specialised techniques apply. Ceramic and textured pieces require careful selection of hanging materials that accommodate their weight and fragility. These often come with specific hanging instructions from the maker or retailer. Never improvise with standard hooks on valuable or delicate work. If your piece has ceramic lugs or custom backing systems, use them exactly as specified.
After installation, step back and assess your work from different distances and angles. Walk around your living room and view the pieces from your favourite seating position, from the doorway, and from across the room. Lighting changes how artwork appears, so evaluate it at different times of day. If something looks slightly off, adjust before considering the job complete. Most installation mistakes are subtle and only visible once you’ve lived with them.
Take time to clean up properly. Remove all painter’s tape, fill any small holes from the planning phase, and vacuum up dust and debris. A neat installation looks intentional and professional.
Secure installation protects both your artwork and your walls, transforming your carefully planned arrangement into a permanent feature that lasts for years.
- Assess artwork weight and select appropriate hardware
- Locate wall studs for heavier pieces using a stud finder
- Use painter’s tape outlines to confirm placement before drilling
- Work methodically from centre outward when hanging galleries
- Use levels to ensure horizontal and vertical alignment
- View installed pieces from multiple distances and lighting conditions
Pro tip: Before making final holes, take a photo of your painter’s tape outline from multiple angles and distances. Review these images on your phone to catch any spacing or alignment issues you might have missed in person. This simple step prevents most installation regrets.
Step 5: Verify visual balance and overall harmony
Your artwork is now installed, but the real evaluation happens over the coming days and weeks. Visual balance and overall harmony determine whether your wall arrangement feels intentional and cohesive or awkward and disjointed. This step involves observing your space objectively and making thoughtful adjustments before declaring the project complete.
Begin by understanding what visual balance actually means for your living room. Visual balance involves distributing colours, shapes, and textures harmoniously to create a sense of equilibrium rather than visual chaos. You don’t need perfectly symmetrical arrangements. Asymmetrical balance often feels more dynamic and interesting, with larger pieces on one side offset by groups of smaller works on the other, or bold colours balanced by neutral tones. The key is ensuring no single area feels visually heavier or more dominant than the rest of your wall space.
Observe your arrangement from multiple vantage points throughout your living room. Sit on your sofa and look at the walls from your usual viewing position. Stand at the doorway and notice what catches your eye first. Move around the space and assess how the artwork relates to your furniture and other décor elements. Does everything feel cohesive, or do certain pieces feel disconnected from the overall composition? Do colours and styles work together, or do they feel jarring? Pay attention to your instinctive reactions before overthinking the reasons behind them.
Consider how light affects visual perception. Natural light changes throughout the day, altering how colours appear and how shadows fall across your artwork. Evaluate your walls at different times, including morning light, afternoon brightness, and evening artificial lighting. A piece that looks perfect in daylight might feel unbalanced under lamplight. If certain pieces consistently appear too bright or too dark depending on lighting conditions, this might indicate they don’t integrate well with their surroundings.
Think about scale and proportion relationships. Balance in design depends on considering proportion and spatial relationships so everything works together naturally. Your artwork should relate proportionally to the walls, furniture, and other elements in the room. A single massive piece on a small wall dominates the space, whilst tiny prints scattered across a large wall feel lost. Similarly, artwork should relate to the furniture it sits above or beside. If something feels cramped or isolated, the proportions may be off.
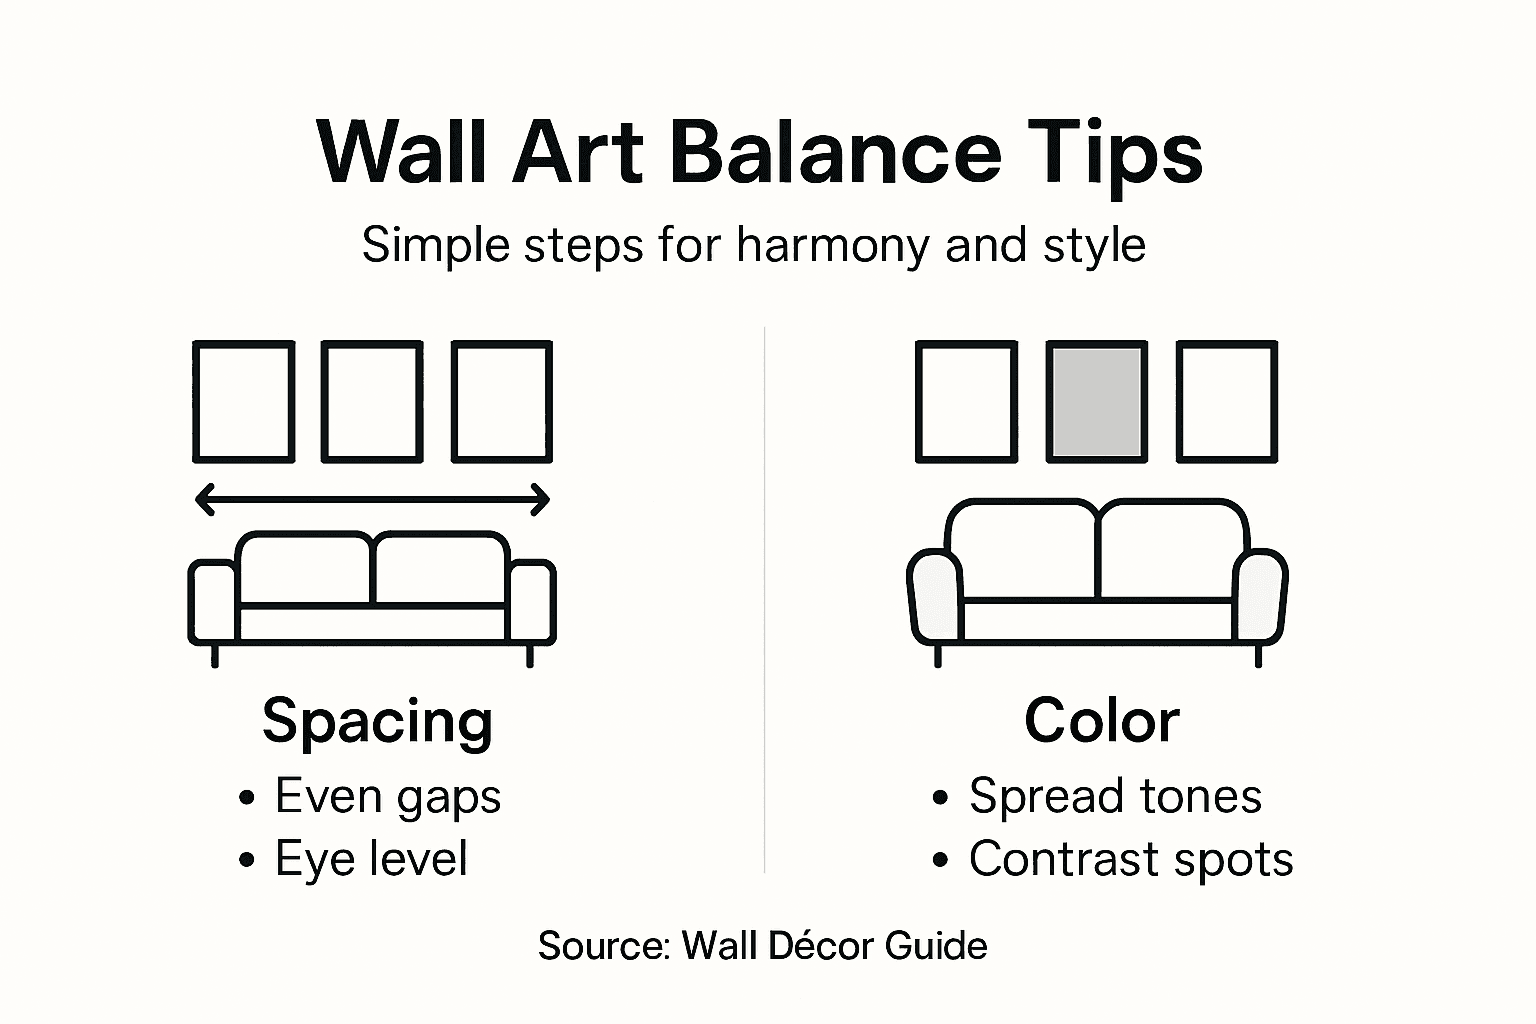
Evaluate colour distribution across your walls. If you have multiple pieces, are they evenly distributed, or do certain colours cluster together in ways that feel unbalanced? A living room with all warm-toned artwork on one wall and cool tones on another might feel disjointed, unless this contrast is intentional. Conversely, too much uniformity can feel monotonous. The goal is variety with cohesion.
Live with your arrangement for at least a week or two before considering it final. First impressions can be deceiving, and your eye needs time to adjust. Pieces that initially seemed bold might feel just right after a few days, or conversely, something might start feeling out of place. Don’t rush adjustments. Give your space time to settle and your eye time to acclimate.
If you identify issues, make changes confidently. A piece hanging slightly off-centre, a gap that feels too large between artworks, or a colour that clashes more than you’d like are all easily correctable. This flexibility is part of why planning with painter’s tape beforehand proves so valuable. You can adjust without guilt or extensive wall damage.
True visual harmony develops over time as you live with your space, so trust your instincts and make adjustments whenever something feels off.
- Observe your walls from multiple positions within your living room
- Evaluate how natural and artificial lighting affects your artwork
- Assess colour distribution and whether it feels balanced overall
- Check that artwork scales relate proportionally to your walls and furniture
- Live with your arrangement for at least a week before considering it final
- Make adjustments confidently if anything feels visually unbalanced
Pro tip: Take photos of your completed wall arrangement from your main seating position, then view these images on your phone from across the room. Photographs often reveal subtle balance issues your eyes miss in person, particularly regarding spacing and colour distribution that your brain unconsciously adjusts for when viewing directly.
Transform Your Living Room Walls with Confidence and Style
Struggling with finding wall art that truly fits your living room’s unique space and aesthetic? This guide highlights the challenge of achieving visual balance, selecting the right scale, and ensuring your artwork complements your décor while reflecting your personal style. Whether you are drawn to minimalist or bold statements, understanding your room’s lighting and furniture layout is key to curating art that you will enjoy for years.
Discover a curated collection that addresses these very needs at Frametheworld.co.uk. Explore our Wall art 2 piece – Unique Wall Art for Modern Interiors for elegant paired options perfect for balanced spaces or browse the expressive textures of our Wabi Sabi Wall Art – Hand‑Painted Abstract Texture & Imperfection to add a unique character. For vertical surfaces and striking focal points, browse our Vertical Wall Art – Hand-Painted Modern Art Pieces.
Take control of your living room transformation today. Choose artwork designed for your style and space with customisation options ensuring perfect fits. Visit Frametheworld.co.uk now to begin your journey towards stylish, balanced living room walls that feel truly yours.
Frequently Asked Questions
How do I assess my living room space for wall decoration?
To assess your living room space for wall decoration, measure your walls and observe how natural light interacts with the area throughout the day. Take note of key features, like furniture placement and focal points, to help determine where artwork will be most impactful.
What are effective ways to select wall art for a stylish look?
Effective ways to select wall art include identifying the subjects and styles that catch your eye and choosing pieces that complement your existing décor. Aim to choose artwork that fills about 50 to 75 percent of the wall area above furniture, ensuring it relates proportionally to your space.
How should I plan the layout for my wall art?
To plan the layout for your wall art, sketch out your design on paper before hanging anything. Start by marking your desired arrangement on the wall with painter’s tape, allowing you to visualise the placement and make adjustments before committing to any installations.
What installation techniques will ensure my artwork is secure?
To ensure your artwork is secure, choose appropriate hardware based on the weight of each piece and use a stud finder for heavier works. Take the time to level each piece accurately during installation, working methodically from the centre of your arrangement outward.
How can I create visual balance in my wall arrangement?
To create visual balance in your wall arrangement, distribute colours, shapes, and textures harmoniously across your space. Assess your layout from various viewpoints and allow time for your eye to adjust, making any necessary adjustments if something feels off.
How long should I live with my wall arrangement before making changes?
You should live with your wall arrangement for at least one to two weeks before deciding on any changes. This allows your eye to acclimatise and helps you identify any elements that may feel out of place or visually unbalanced.
Leave a comment
This site is protected by hCaptcha and the hCaptcha Privacy Policy and Terms of Service apply.