

Selecting frames for wall art can feel overwhelming when you want both protection and style. As European homes evolve with contemporary touches, the right framing choices become vital for preserving artwork and achieving a seamless aesthetic. This guide offers clear strategies focusing on assessing the artwork, choosing protective elements like UV-resistant glass and acid-free mounting, and mastering each step of the framing process to achieve striking results in residential spaces.
Table of Contents
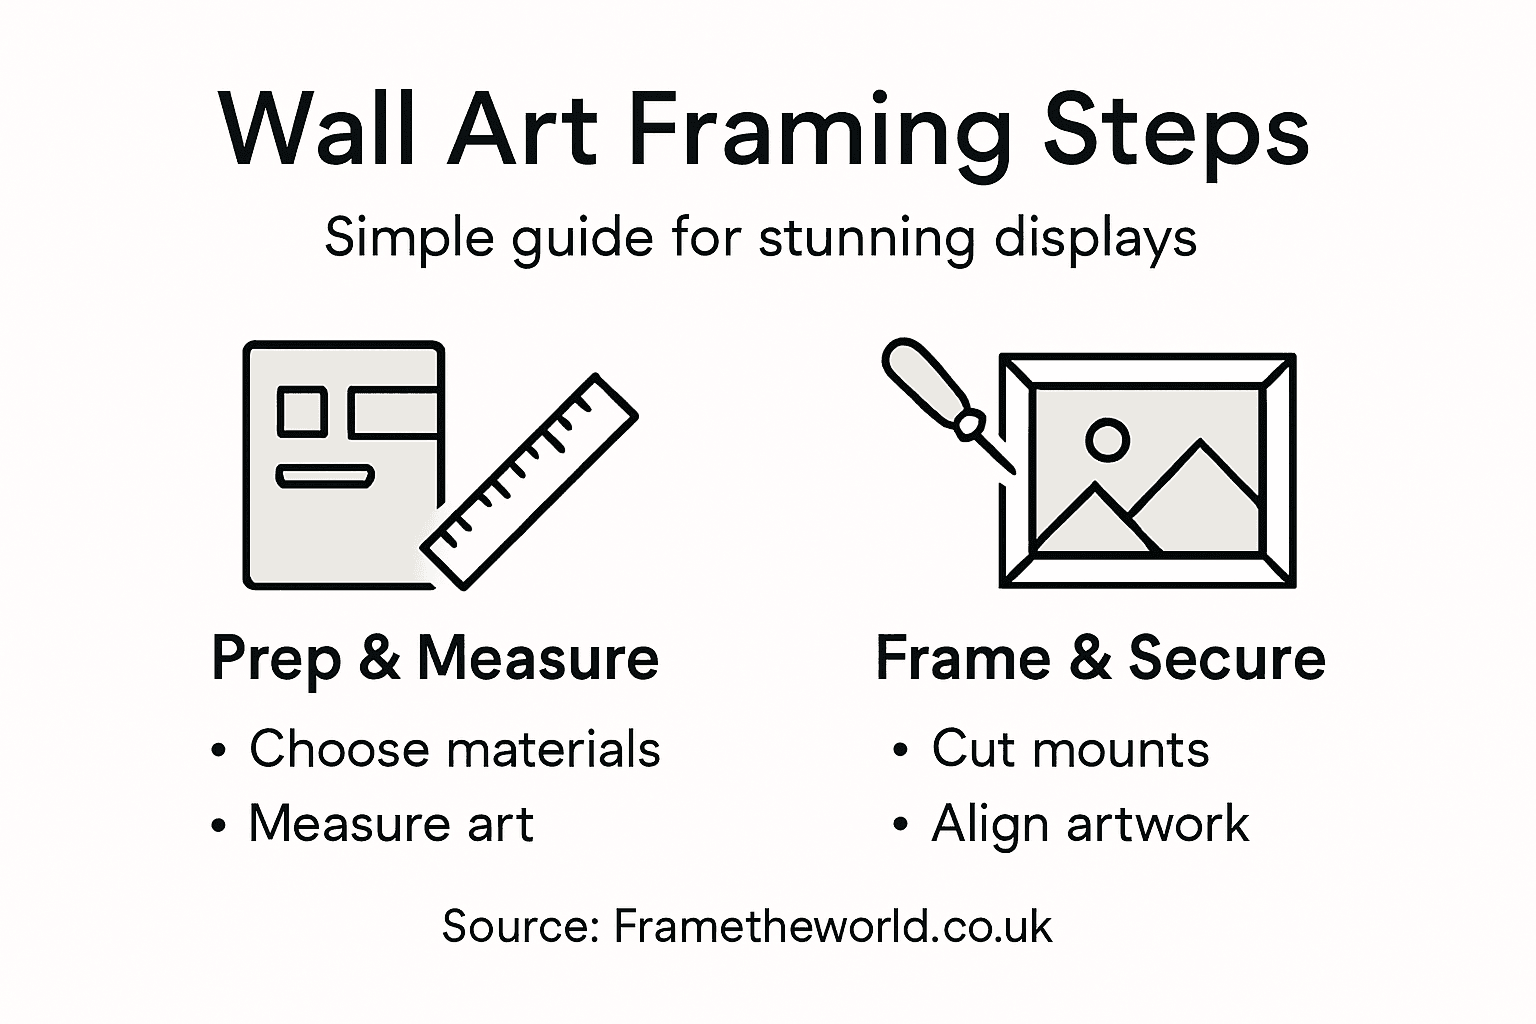
- Step 1: Assess Artwork And Select Optimal Materials
- Step 2: Prepare Workspace And Measure Your Art
- Step 3: Cut Mounts And Assemble Frame Components
- Step 4: Secure Artwork And Verify Alignment
- Step 5: Complete Installation And Inspect Your Display
Quick Summary
| Key Point | Explanation |
|---|---|
| 1. Select Appropriate Materials | Choose framing materials that protect and enhance your artwork’s style and environmental needs to ensure preservation. |
| 2. Measure Accurately for Fit | Precise measurements are critical for a flawless frame fit, so double-check dimensions before cutting. |
| 3. Use Quality Tools for Precision | Invest in professional-grade cutting tools and archival materials for creating a high-quality display that lasts. |
| 4. Ensure Proper Artwork Alignment | Meticulously verify each layer’s alignment during assembly to achieve a professional finish for your artwork. |
| 5. Verify Wall Installation Stability | Securely mount the artwork using appropriate wall anchors and regularly check stability for lasting presentation. |
Step 1: Assess artwork and select optimal materials
Selecting the right framing materials is crucial for protecting and showcasing your artwork’s unique character. This step involves carefully examining the artwork’s medium, style, and display environment to choose materials that will both preserve and enhance its visual appeal.
Begin by conducting a thorough assessment of your artwork’s specific requirements. Different art mediums demand unique framing approaches. Protecting artwork requires strategic material selection, especially considering factors like light exposure, moisture risk, and potential environmental damage.
Key considerations for material selection include:
- Artwork medium (watercolour, oil painting, print, photograph)
- Artwork value and fragility
- Display location’s environmental conditions
- Desired aesthetic impact
- Long-term preservation needs
When evaluating frame materials, prioritise options that complement both the artwork and your interior design. Wood frames work brilliantly for traditional pieces, while metal frames suit contemporary artworks. Protective elements like UV-resistant glass and acid-free mounting are non-negotiable for preserving your artwork’s integrity.
Here’s how different framing materials compare for art preservation:
| Material Type | Best Suited For | Main Benefit | Potential Drawback |
|---|---|---|---|
| Wood Frame | Traditional art | Warm, classic look | Susceptible to moisture |
| Metal Frame | Modern pieces | Durable, sleek appearance | Can feel cold or industrial |
| UV Glass | Watercolours, photos | Blocks harmful light | Higher cost |
| Acid-Free Mount | Valuable works | Prevents acid damage | Needs careful handling |
Selecting the right frame is not just about aesthetics - it’s about creating a protective environment for your cherished artwork.
Expert suggestion: Always invest in archival-quality materials, as they provide superior protection and can significantly extend your artwork’s lifespan.
Step 2: Prepare workspace and measure your art
Preparing your workspace and taking precise measurements are fundamental steps in successful wall art framing. This stage ensures you have the accurate dimensions and a clean environment needed for a professional framing process.
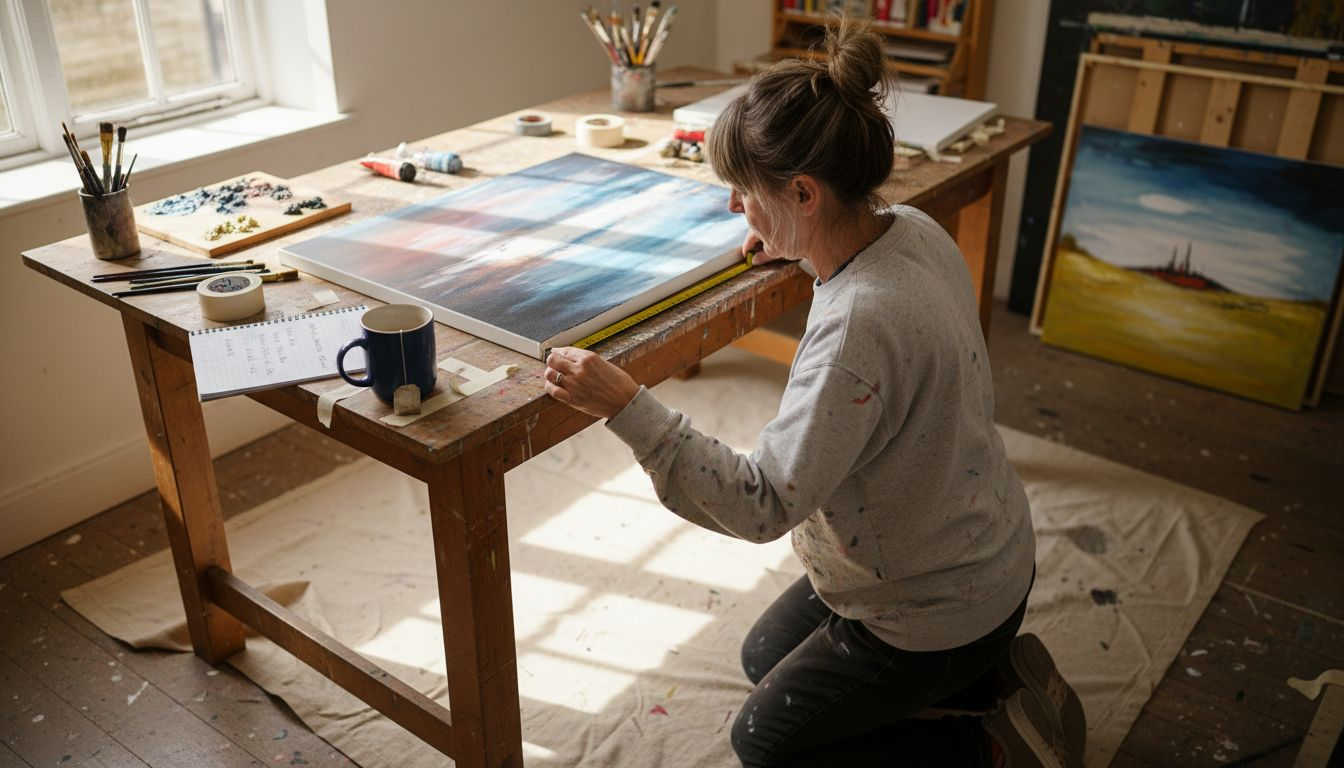
Precise artwork measurements require careful preparation to guarantee a perfect frame fit. Start by selecting a clean, well-lit workspace with a smooth, dust-free surface. Ideally, use a large table or dedicated framing area where you can spread out your materials comfortably.
Essential workspace preparation steps:
- Clear the area of potential contaminants
- Gather necessary measuring tools
- Ensure good lighting
- Have a clean, flat surface ready
- Prepare soft padding to protect artwork
When measuring your artwork, accuracy is paramount. Use a metal tape measure for precision and measure each dimension twice to confirm. Key measurement techniques include:
This table summarises ideal workspaces for art framing:
| Workspace Type | Advantage | Common Issue |
|---|---|---|
| Dedicated workshop | Full tool access | May be space-consuming |
| Large dining table | Convenient at home | Risk of dust or spills |
| Studio bench | Ample lighting | May lack privacy |
| Floor with mat | Flexible for large art | Hard on back and knees |
- Measure artwork width from outer edge to outer edge
- Record height from top to bottom edge
- Measure to the nearest 1/16 inch
- Account for potential mat or border additions
- Consider the artwork’s orientation
Measurement accuracy determines the quality of your final framed piece - take your time and double-check every dimension.
Expert suggestion: Always add a small buffer of 1/8 inch when measuring to accommodate potential frame variations and ensure a smooth fitting process.
Step 3: Cut mounts and assemble frame components
Cutting mounts and assembling frame components represent the critical transition point where your carefully selected artwork begins to transform into a polished, professional display piece. This stage requires precision, patience, and careful technique to ensure a flawless final result.
Precise mount cutting techniques are essential for creating a professional-looking frame. Begin by gathering your specialist mount cutting tools, including a sharp mount cutter, metal ruler, cutting mat, and protective gloves. Ensure your workspace is clean and well-lit to support intricate cutting work.
Essential mount cutting tools:
- Professional-grade mount cutter
- Sharp, replaceable blades
- Metal safety ruler
- Self-healing cutting mat
- Protective work gloves
- Pencil for marking
Key mount cutting steps:
- Measure artwork dimensions precisely
- Mark cutting lines lightly with pencil
- Align cutting guide carefully
- Cut from back for clean bevelled edges
- Check symmetry and alignment
When assembling frame components, work methodically and carefully. Dry-fit all pieces before final assembly to ensure everything aligns perfectly. Use gentle pressure and avoid overtightening components that might damage delicate artwork.
Precision in mount cutting determines the professional quality of your final framed artwork - take your time and focus on accuracy.
Expert suggestion: Always keep spare blades on hand and replace them frequently to maintain crisp, clean cutting edges for professional-looking mounts.
Step 4: Secure artwork and verify alignment
Securing your artwork within the frame is the culmination of your meticulous preparation, transforming careful measurements and precise cutting into a professional display piece. This critical stage ensures your artwork remains protected, perfectly positioned, and ready for presentation.
Securing artwork requires systematic layering techniques that protect and preserve your piece. Start by creating a carefully ordered ‘package’ consisting of glass, mount board, artwork, and backing board, ensuring each layer is clean and dust-free before assembly.
Essential artwork securing components:
- Framer’s points or brad setters
- Soft, lint-free cloth
- Protective gloves
- Dust-free workspace
- Gummed paper tape
- Clean, flat surface
Key alignment verification steps:
- Position glass first in frame
- Layer mount board carefully
- Centre artwork precisely
- Add backing board gently
- Check overall alignment
Important securing techniques involve using minimal pressure while ensuring everything remains flat and centred. Gently tighten framing points, working systematically around the frame’s perimeter to maintain even tension.
Perfect alignment is the difference between a good frame and an exceptional presentation - take your time and be meticulous.
Expert suggestion: Use white cotton gloves when handling artwork to prevent fingerprints and potential damage during the securing process.
Step 5: Complete installation and inspect your display
The final stage of wall art framing transforms your carefully crafted piece from a project to a stunning visual statement. This crucial moment brings together all your previous meticulous work, presenting an opportunity to ensure perfect presentation and long-term preservation.
Securing artwork requires precise wall mounting techniques that guarantee stability and visual impact. Begin by selecting appropriate wall anchors based on your frame’s weight and wall composition, ensuring a secure and level installation.
Wall mounting essential considerations:
- Select correct wall anchor type
- Locate wall studs for maximum support
- Use appropriate hanging hardware
- Check frame weight requirements
- Prepare necessary tools in advance
Key installation verification steps:
- Mark precise hanging location
- Install wall anchors carefully
- Hang frame using recommended hardware
- Check horizontal and vertical alignment
- Test frame stability gently
Inspection techniques involve a systematic approach to verifying your artwork’s final presentation. Use a spirit level to ensure perfect alignment, and step back to assess the overall visual impact from different angles.
A perfectly installed artwork transforms a simple wall into a captivating visual narrative - precision matters.
Expert suggestion: Periodically check wall anchors and frame stability, especially in areas with temperature fluctuations or high humidity.
Elevate Your Wall Art Framing with Expertly Curated Collections
Mastering the wall art framing process requires careful material selection, precise measurements and perfect alignment to protect and showcase your treasured pieces. If you seek to overcome challenges like choosing the ideal frame or securing artwork flawlessly, discover how premium hand-painted creations from our Vertical Wall Art – Hand-Painted Modern Art Pieces collection can offer a seamless framing experience tailored to your style. These artworks are thoughtfully designed to complement professional framing methods while retaining striking visual impact.
Take control of your interior design now by exploring our wide range of customizable options on Frametheworld.co.uk. Enjoy exclusive access to unique pieces like those in our Wabi Sabi Wall Art – Hand‑Painted Abstract Texture & Imperfection selection to personalise your display with authenticity and timeless character. Start your journey towards stunning, professionally framed art — select your perfect piece today and bring your framing mastery to life.
Frequently Asked Questions
How do I assess the right materials for framing my artwork?
Selecting the appropriate framing materials begins with evaluating your artwork’s medium, style, and display conditions. Assess factors such as light exposure and humidity to choose materials that will enhance your artwork’s appearance and preserve its integrity.
What measurements should I take before framing my artwork?
You should accurately measure both the width and height of your artwork, ideally using a metal tape measure. Record your measurements to the nearest 1/16 inch and measure each dimension twice to ensure precision for a perfect frame fit.
What tools do I need to cut mounts for my artwork?
To cut mounts for your artwork, gather essential tools including a professional-grade mount cutter, sharp blades, a metal ruler, and a self-healing cutting mat. Ensure your workspace is clean and well-lit to support accurate cutting and prevent damaging your materials.
How can I ensure my artwork is properly secured and aligned in the frame?
To secure your artwork, layer it with glass, mount board, and backing board in a systematic manner, ensuring everything is dust-free. Use minimal pressure to align components correctly and check for stability by gently testing the fitted artwork once assembled.
What steps should I follow for installing my framed artwork on the wall?
Begin your installation by marking the precise location for hanging the frame and selecting appropriate wall anchors based on the frame’s weight. After installing the anchors, hang the frame and use a spirit level to verify that it is horizontally and vertically aligned for an impressive final display.
How often should I inspect and maintain my framed artwork installation?
Periodically check your framed artwork, especially in environments with fluctuating temperatures or high humidity. Aim to conduct inspections every six months to ensure stability and to address any potential issues with the wall anchors or frame over time.


Leave a comment
This site is protected by hCaptcha and the hCaptcha Privacy Policy and Terms of Service apply.