
TL;DR:
- A reliable art placement process involves setting a sight-line baseline, anchoring art to furniture, creating a digital mockup, verifying on site, and installing with substrate-appropriate fixings. Custom mockups and a master measurement point prevent costly mistakes, ensuring a cohesive visual relationship between artwork and furniture. Professional installation is recommended for high-value, complex, or large-scale projects to guarantee accuracy and safety.
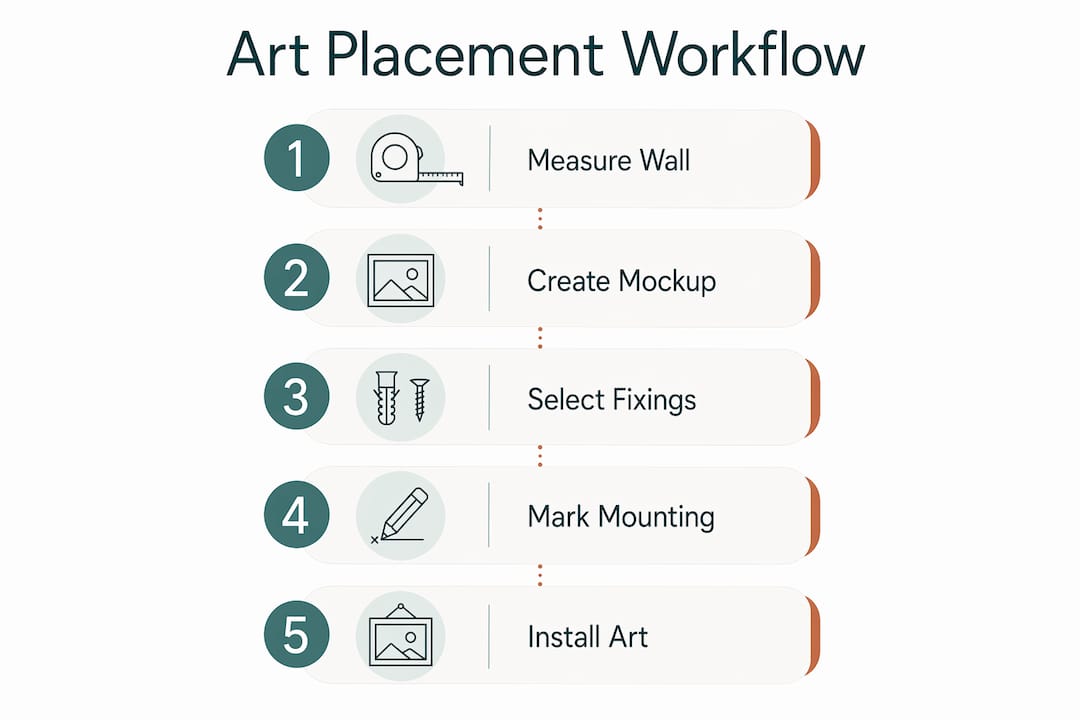
The most reliable art placement workflow runs in five steps: set a sight-line baseline, anchor art to nearby furniture or architecture, mock the layout digitally at scale, verify on site, then install using substrate-appropriate fixings from a single master measurement point. Get those five steps right and the result looks considered rather than accidental.
The professional baseline measurement places the centre of the artwork at about eye level from the finished floor. Museums and galleries use this band because it aligns with average standing eye level. Above furniture, leave a small gap between the top of the piece and the bottom of the frame to maintain visual balance.
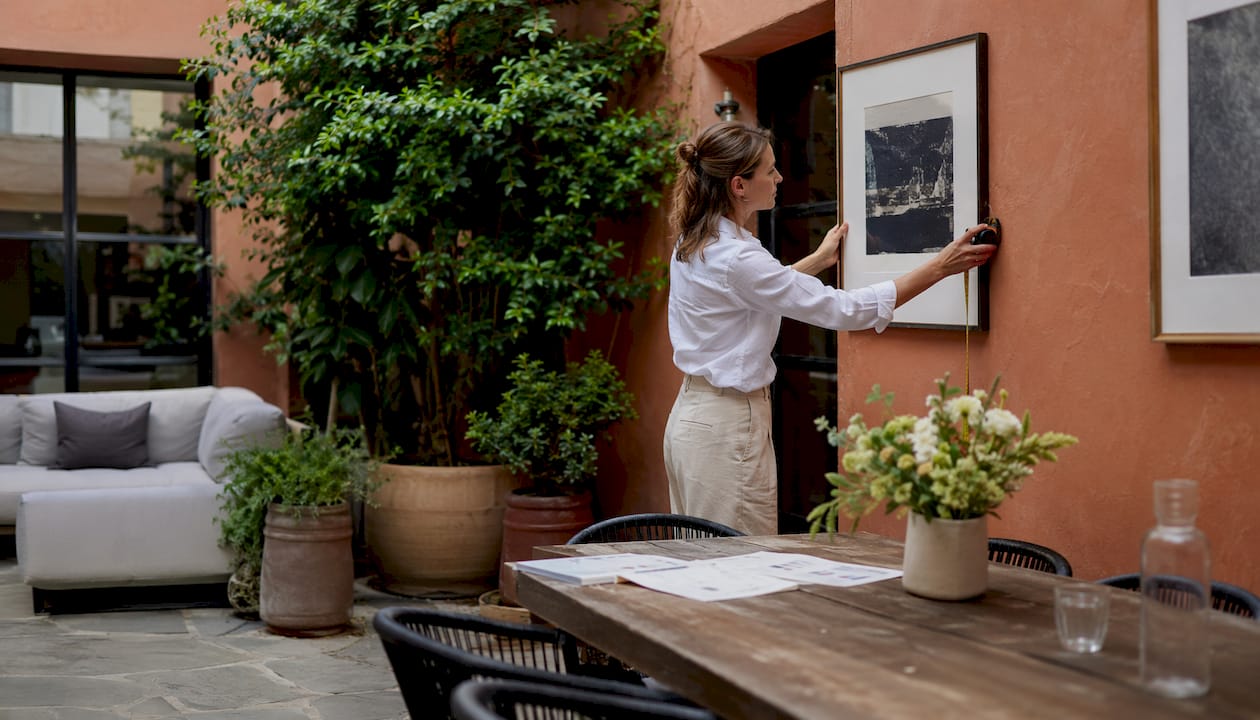
Quick measurement callout: Mark 147 cm on the wall with a pencil. That is your centre point for most rooms. In seated areas, drop to 140–145 cm so the art reads comfortably from a chair. Measure up and down from your chosen centre by half the artwork height to find your top and bottom edges. Two situations call for an adjustment. In seated rooms such as dining areas or TV lounges, drop the centre so that the art reads comfortably from a chair. In rooms with ceilings above 3 m, resist the urge to raise the art to fill vertical space; art relates to people first, architecture second.
Table of Contents
- When the 57–60 in rule needs adjusting
- How to build a digital staging mockup before you drill anything
- Physical installation: tools, fixings, and UK substrate guidance
- Planning gallery walls, stair runs and multi-piece layouts
- When to hire a professional installer in the UK
- Printable measurement checklist and installer handover template
- Key takeaways
- The detail most people overlook
- Frametheworld: custom art sized for your exact wall
When the 57–60 in rule needs adjusting
Eye level is a starting point, not a universal law. Three variables override it: room use, furniture scale, and viewer posture.
Seated rooms. Drop the centre to 140–145 cm in dining rooms and media rooms. In most other rooms, the professional baseline is 147 cm from the finished floor — the gallery standard. Furniture scale and the width rule. Art above a sofa, bed, or console should span a substantial portion of the furniture’s width, roughly two-thirds to three-quarters, to create balance. Centre the art on the furniture body, not the wall.
Three quick scenarios:
- Sofa: 15–20 cm gap above the back cushions, art width two-thirds of sofa width.
- Bed: Centre on the headboard, not the mattress; a modest gap above the headboard top.
- Console: a small gap, art no wider than the console surface.
Pro Tip: Treat the artwork and the furniture below it as a single anchored unit. The moment the gap exceeds roughly 30 cm, the art begins to “float” — it loses its visual connection to the room and the space feels unsettled. If that is happening, lower the piece before changing anything else.
How to build a digital staging mockup before you drill anything
Digital staging prevents the two most expensive mistakes in the art placement process: buying a piece that is the wrong size, and drilling holes in the wrong place. The workflow below applies whether you are a homeowner with one statement canvas or a designer planning a commercial scheme.
Step-by-step staging process:
- Measure the wall width, height, and any architectural interruptions (sockets, windows, alcoves).
- Set a scale reference — photograph the wall with a known object (a door, a chair) to establish real-world proportions.
- Import your artwork dimensions into a planner. Tools such as ArtPlacer and Gallery Designer both allow you to position pieces at true scale and export measurement tables or PDFs.
- Position pieces relative to furniture and architectural features, not just the wall centre.
- Adjust lighting and shadow parameters in the mockup to approximate the room’s actual light direction.
- Check sight lines from the primary viewing zone — the seat or doorway where the piece will be seen most.
- Export an installer-ready file: a PDF or PNG mockup for client sign-off, plus a measurement table listing each hang point’s position relative to the master centre.
Outputs every designer should produce before installation:
- A visual mockup (PNG or PDF) for client approval.
- A two-page installer guide: page one lists relative measurements and hook offsets; page two is a gridded scale drawing of the wall.
- A note on framing options and any lighting adjustments required on site.
For large-scale interior projects, digital staging also prevents the common error of commissioning multiple pieces that collectively overwhelm or under-fill the intended wall zone.
Physical installation: tools, fixings, and UK substrate guidance
Confirm the approved mockup before touching the wall. Protect floors with dust sheets, unpack artwork carefully, and verify actual dimensions against the order confirmation — discrepancies are easier to resolve before a hole is drilled.
Tools and materials checklist:
- Spirit level or laser level
- Steel tape measure and pencil
- Cardboard templates cut to each artwork’s hanging hardware position
- Appropriate wall anchors (see table below)
- Braided picture wire rated at three times the artwork’s weight when wire is used
- French cleats or interlocking brackets for works above approximately 9 kg (20 lb)
- Soft blankets or foam padding for handling delicate or glazed pieces
Set your master centre mark first. Measure all hook positions relative to that single point. Measuring frame-by-frame accumulates error across a multi-piece hang.
| Substrate | Recommended fixing | Load notes |
|---|---|---|
| Plasterboard (stud wall) | Hollow-wall anchor or fix into stud | Fix into stud for works over 5 kg |
| Solid plaster over brick | Masonry screw with rawlplug | Suitable for most residential loads |
| Brick or concrete | Masonry drill bit, rawlplug, screw | Preferred for heavy or high-value works |
| Timber millwork / panelling | Wood screw direct | Check depth; avoid splitting |
| Ceramic tile | Diamond drill bit, tile anchor | Use sparingly; risk of cracking |

Pro Tip: Cut a cardboard template of each frame’s hanging hardware position. Tape the template to the wall at the correct height, tap through the template to mark the fixing point, then remove it. This eliminates the need to hold a heavy frame against the wall while marking — and it keeps your master baseline intact across a multi-piece hang.
For lighting, track fixtures positioned at an appropriate distance from the wall produce an even wash without hot spots. Paper works suit moderate lux levels; oils tolerate higher levels. A high CRI renders colour accurately.
Planning gallery walls, stair runs and multi-piece layouts
The organising principle for any multi-piece arrangement is this: define the overall silhouette first, then arrange the interior relationships. A rectangle, horizontal band, or vertical column gives the eye a boundary to read. Without one, the arrangement looks scattered regardless of individual frame quality.
Step-by-step gallery wall execution:
- Lay all pieces on the floor and experiment with the overall shape.
- Identify the anchor piece — usually the largest or most visually dominant work.
- Measure the total footprint of the arrangement.
- Tape that footprint onto the wall with painter’s tape.
- Hang the anchor piece first at the standard centre height within the taped zone.
- Transfer all remaining hook positions from the master baseline, not from adjacent frames.
- Maintain consistent gaps between frames to create a cohesive arrangement.
- Step back and photograph the arrangement before committing to additional fixings.
For stair runs, the sightline shifts as you move along the staircase. Use a consistent vertical spacing rule (equal gaps between frame centres along the stair pitch) rather than trying to maintain a fixed floor-to-centre height. Complex gallery walls and stair installations are where small spacing errors multiply across many frames — the case for professional help is strongest here.
Pro Tip: Hang large anchor works first and leave glazed or fragile pieces crated until the structural hangs are confirmed. Moving a heavy unglazed canvas is forgiving; moving a glazed piece after it has been placed risks scratching both the glass and the wall finish.
When to hire a professional installer in the UK
The decision should be based on consequence, not perceived cost. Professional work buys judgement as well as labour — and a damaged high-value canvas costs far more than an installer’s day rate.
Hire a professional when: the work is bespoke or high-value; the installation involves a staircase, high ceiling, or unknown substrate; the arrangement spans multiple rooms; or the piece requires conservation-sensitive handling.
What a professional installer provides:
- Site survey and substrate assessment
- Hardware specification matched to wall type and artwork weight
- Installer-ready drawing with precise hook positions
- Protective handling from unpacking to final hang
- On-site levelling checks and a client handover sheet
Cost and timeline drivers in the UK: wall material complexity, number of pieces, access logistics (stairs, lifts, scaffolding for high ceilings), specialist anchors, and travel. A single straightforward hang in a London flat can be done relatively quickly, while larger multi-room commercial schemes may require multiple days. For large commercial interiors, budget for a site survey visit separate from installation day.
Brief your installer with: final artwork dimensions, substrate type (if known), preferred sight-line height, mockup exports, and access details including parking and lift availability. Interior designers coordinating larger projects may also find it useful to review trade programme workflows to understand how professional project logistics are typically structured.
Printable measurement checklist and installer handover template
Complete this before ordering hardware or scheduling installation.
Pre-installation checklist:
- Wall width, height, and substrate confirmed.
- Master centre point marked at a comfortable eye-level height from the finished floor.
- Furniture positions finalised and gap measurements recorded.
- Digital mockup approved by client (PNG or PDF saved).
- Artwork dimensions verified against order confirmation.
- Fixing type selected per substrate (see table above).
- Cardboard templates cut for each hang point.
- Lighting positions noted and any track adjustments planned.
- Installer handover sheet completed and shared before arrival.
Installer handover template:
| Field | Details to complete |
|---|---|
| Master centre height | e.g. 147 cm from finished floor |
| Artwork dimensions (H × W) | Per piece, in centimetres |
| Hook offset from centre | Horizontal and vertical offset per piece |
| Substrate and fixing type | e.g. solid plaster, masonry screw M6 rawlplug |
| Gap above furniture | e.g. 18 cm above sofa back |
| Mockup file reference | Filename and export format (PDF / PNG) |
| Access notes | Parking, lift, floor protection required |
Send this sheet with the mockup export at least 48 hours before installation day. Fields left blank on arrival add time and cost to the job.
Key takeaways
A professional art placement workflow rests on three non-negotiable steps: a digital mockup at true scale, a single master baseline measurement, and substrate-matched fixings — everything else follows from those.
| Point | Details |
|---|---|
| Centre height baseline | Hang artwork centre at 140–145 cm from the finished floor for seated rooms. |
| Gap above furniture | Leave 15–20 cm between the top of furniture and the bottom of the frame; art width should span two-thirds to three-quarters of the furniture’s width. |
| Digital mockup first | Produce a scale mockup and export an installer-ready PDF before purchasing hardware or scheduling installation. |
| Master baseline rule | Set one master centre point and measure all hook positions from it; frame-by-frame measuring accumulates error. |
| Frametheworld custom sizing | Frametheworld supplies hand-painted canvases in custom sizes with dimension information suited to installer handover, removing the guesswork from the ordering stage. |
The detail most people overlook
The float problem is more common than any measurement error, and it is almost never caused by hanging art at the wrong height. It is caused by treating the artwork and the furniture as two separate decisions. A piece can sit at a mathematically correct 147 cm and still look wrong if it bears no proportional relationship to the sofa below it. Width matters as much as height, and the gap between art and furniture is the visual hinge that holds the whole arrangement together.
The second thing worth saying plainly: digital staging is not optional for anything beyond a single straightforward hang. The cost of a mockup tool is negligible against the cost of repainting a wall or returning an oversized canvas. Designers who skip this step and rely on experience alone are the ones who occasionally get it badly wrong.
Frametheworld: custom art sized for your exact wall
The workflow described here works best when the artwork itself is ordered to the dimensions your mockup specifies. Frametheworld supplies hand-painted wall art and decorative canvases in custom sizes, so you can order a piece to the exact width and height your installer handover sheet calls for, rather than adapting your layout to whatever standard sizes happen to be available.
For bespoke commissions, Frametheworld’s team can work from your mockup dimensions directly. Browse the collections, confirm your wall measurements using the checklist above, and contact Frametheworld with your dimensions and preferred style before placing your order. That single step removes the most common source of post-delivery disappointment: a canvas that looked right on screen but arrived 20 cm too narrow for the wall it was meant to anchor.



Leave a comment
This site is protected by hCaptcha and the hCaptcha Privacy Policy and Terms of Service apply.