
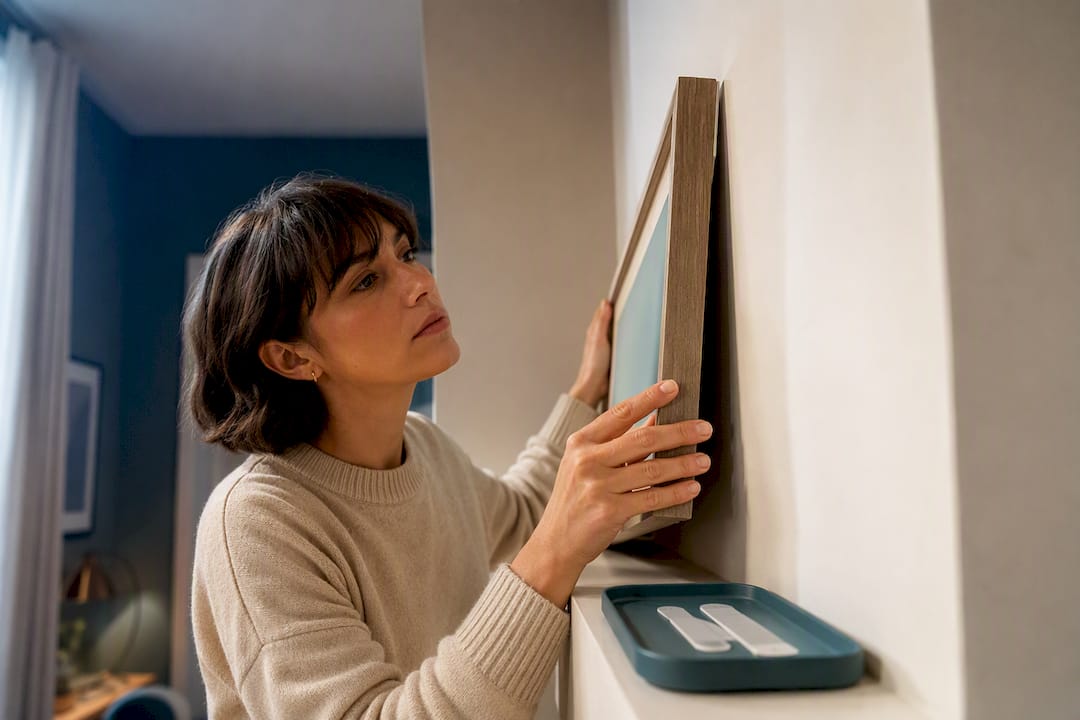
You can hang art in a rental without risking your deposit, provided you match the method to the wall and weight. Adhesive picture strips handle light-to-medium frames on painted plaster; heavier or awkward pieces do better leaned, shelved, or hung from a picture rail if one exists. Follow the manufacturer’s instructions and check your tenancy agreement first, and there’s no realistic reason a landlord should dock you a penny. The full method-by-wall breakdown and step-by-step technique follow below.
TL;DR:
- Use adhesive picture strips rated for up to 9kg on smooth painted plaster, but avoid them on textured, wallpapered, or uncured walls to prevent damage.
- Always clean the wall with rubbing alcohol and wait at least seven days after painting before applying adhesive hooks or strips to ensure proper bonding.
- Leverage non-adhesive options like picture rails, leaning art, or floating shelves to avoid damaging walls, especially on rough or porous surfaces.
- Obtain landlord approval via email before hanging art, document the condition of walls with timestamped photos, and adhere strictly to the manufacturer’s instructions.
- For large or heavy artwork, spread the weight across multiple fixing points or lean frames to minimize risk and simplify the process.
Table of Contents
- Quick shortlist: renter-friendly methods and when to use them
- Choose by wall type and artwork weight
- How do you apply and remove adhesive picture strips safely?
- Non-adhesive options: rails, shelves, leaning and freestanding displays
- What should you check with your landlord before you hang anything?
- Gallery-wall and styling tips that protect the wall
- Frametheworld resources and practical recommendations
- Give your rental some personality without the risk
- Why most renters overthink this more than they need to
- Sources
Quick shortlist: renter-friendly methods and when to use them
Most rental walls can take art safely once you pick the right fixing for the job. The trick is matching the method to the frame’s weight and your wall surface, not defaulting to whatever is easiest.
- Adhesive strips and hooks — best for frames under about 7kg on smooth painted plaster; Command strips can hold up to 9kg when applied correctly, though most renters use the lighter grades for canvases and prints.
- Removable hooks — a step up from strips for slightly heavier or awkwardly shaped frames, though they still rely on the same adhesive backing.
- Picture rails — ideal where they already exist; you hang from an adjustable hook and wire rather than touching the wall at all.
- Floating shelves or ledges — good for grouping multiple smaller pieces without individually fixing each one.
- Leaning — zero risk, zero permission needed, and surprisingly effective for larger statement pieces.
Avoid adhesive strips on fresh paint (wait at least seven days to let the surface cure), on wallpaper (the adhesive can pull the paper away when removed), and on textured or heavily embossed plaster, where the bond simply won’t hold reliably. In those cases, lean the piece or ask your landlord about a rail.
Choose by wall type and artwork weight
Rental properties tend to fall into a handful of wall categories, and each behaves differently under an adhesive strip. Smooth painted plaster is the easiest surface: strips bond cleanly and predictably. Wallpaper is trickier because the adhesive grips the paper rather than the wall underneath, so removal can tear it. Bare brick, exposed concrete, and textured or artex-style plaster are the least forgiving. Adhesives don’t always bond reliably to rough or porous surfaces, whatever the packaging promises.
Weight matters as much as surface. As a working rule:
- Light (under 2kg) — small prints, single canvases. Standard adhesive strips or even washi tape will do.
- Medium (2kg to 7kg) — most framed prints and mid-size canvases. Use the manufacturer’s medium or large strips, matched to the weight rating on the pack.
- Heavy (over 7kg) — oversized canvases, framed mirrors, anything with real heft. Even at Command’s 9kg ceiling, you’re pushing the limit of what any adhesive should carry on plaster. Lean it against the wall, rest it on a floating shelf, or hang it from a picture rail instead.
When in doubt, go lighter than you think you need. A strip rated for your frame’s weight with no margin is a strip that’s one humid afternoon away from failing.
How do you apply and remove adhesive picture strips safely?
Getting adhesive strips right is less about the strips themselves and more about the fifteen minutes either side of applying them.
- Clean the wall with rubbing alcohol and let it dry fully. Dust and residue are the main reason strips fail early.
- Check the paint is cured. If the wall’s been painted recently, wait the full seven days manufacturers recommend before applying anything.
- Match strip size to frame weight. Heavier or larger frames need more strips, not just bigger ones. Spread the load across at least two or three points.
- Press each strip firmly for the number of seconds stated on the pack, usually around 30.
- Wait an hour before hanging the frame. This adhesion window matters more than most people assume.
- Test hang carefully, then check level with a spirit level before you commit.
- To remove, grip the tab at the bottom and stretch it slowly downwards, parallel to the wall, rather than pulling outward.
Pro Tip: If a strip leaves a faint mark or a flake of paint comes away, a magic sponge and a dab of matching touch-up paint usually sorts it before check-out, no landlord conversation required.
Command strips are rated to hold up to 9kg when applied and removed correctly, which covers the vast majority of framed art and canvases you’ll want to hang in a rental.
Non-adhesive options: rails, shelves, leaning and freestanding displays
Not every piece needs to touch the wall at all, and some of the best renter-friendly setups barely involve adhesive.
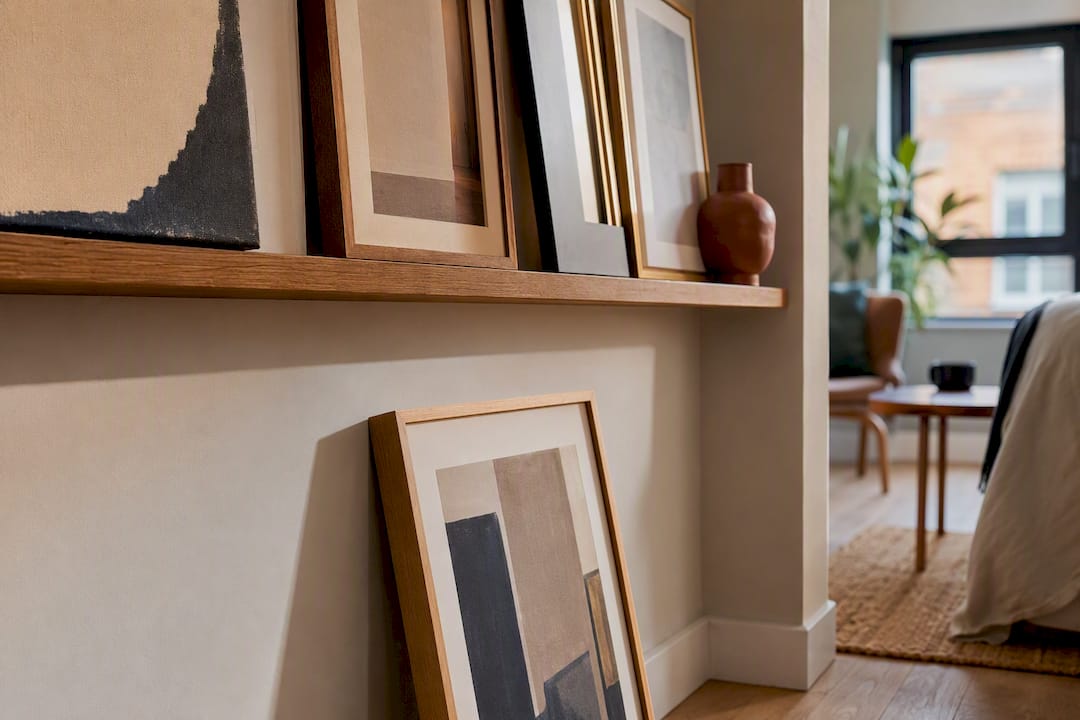
Picture rails, where a property already has them, are the cleanest way to hang art in rentals: the hook and wire take the weight, and you can rearrange the whole layout without a single new mark. If a rail doesn’t exist, installing one usually means screwing into studs near the ceiling, so ask your landlord first rather than assuming it’s a minor job.
Floating shelves and picture ledges work well for grouping several smaller frames, though the shelf itself still needs fixing, so treat that as a separate permission question. Leaning art on a mantel, sideboard or floor against a wall is the lowest-risk option going, and an easel does the same job for a single statement piece.
- On brick or exposed concrete, skip adhesives altogether and lean or shelve instead.
- Tension rods and freestanding rail systems can substitute for wall-mounted rails in trickier rooms.
Pro Tip: Designers often mix leaning pieces with a couple of adhesive-hung frames in the same grouping. It reads as a gallery wall but spreads the risk across fewer fixings.
What should you check with your landlord before you hang anything?
Start with the tenancy agreement itself. Many say nothing specific about picture hooks, but some prohibit “alterations” broadly enough to cover adhesive strips, so it’s worth a five-minute read before you buy anything. If it’s ambiguous, send a short email: something like, “I’d like to hang some framed art using removable adhesive strips rated for interior walls, no drilling involved. Could you confirm that’s fine?” Written permission, even a one-line reply, is worth more than any verbal nod.
Keep evidence either way. Timestamped photos of your walls at check-in, and again once you’ve hung anything, make disputes at check-out far less likely to go anywhere. Reference the inventory report if you have one.
Realistic red flags include wallpapered walls, listed-building status, and existing damp patches, all of which give a landlord genuine grounds to object. If you hit a wall (literally or otherwise) and can’t reach agreement, Citizens Advice runs a dedicated tenancy advice service that can talk through your specific contract terms.
Gallery-wall and styling tips that protect the wall
A convincing gallery wall doesn’t require a dozen fixings. Cut paper templates to the exact size of each frame and tape them up first, so you can shuffle the layout on the wall itself before a single strip goes near it. This avoids the repositioning that ruins adhesive bonds and leaves multiple marks behind.
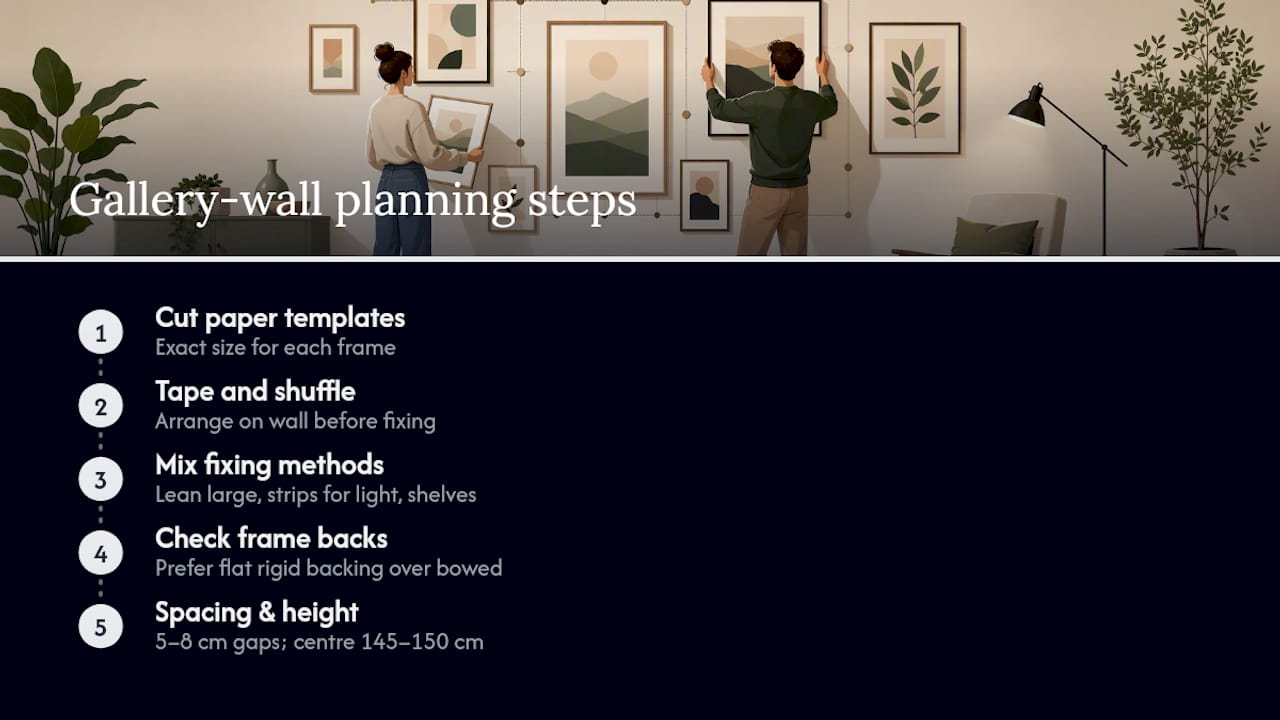
Mix your fixing methods within the same grouping: lean your largest piece against the base of the arrangement, hang two or three lighter frames above it with strips, and let a shelf carry the rest. That spreads load rather than concentrating it. Lightweight frames with flat, rigid backing boards adhere better than anything with an uneven or bowed rear panel, so it’s worth checking before you buy.
For spacing, keep 5 to 8cm between frames and hang the visual centre of the grouping around eye level, roughly 145cm to 150cm from the floor. It reads as intentional rather than accidental, and it needs no more hardware than a smaller arrangement would.
Frametheworld resources and practical recommendations
Frametheworld’s guide to art for rental homes covers sizing and installation choices specific to tenancies, and the decorative print installation guide walks through hanging and care step by step. For layout planning, the art display arrangement guide is worth a look before you commit to any wall.
If you’re leaning rather than hanging, canvases with a bit of textural depth tend to hold visual weight from across a room. Advice is available on sizing for bespoke commissions where a standard size doesn’t quite fit your space.
Give your rental some personality without the risk
Frametheworld’s Wabi Sabi hand-painted canvases suit leaning against a wall or shelf as easily as they suit hanging, which makes them a low-commitment way to test a layout before you fix anything permanently. If you want something bolder for a smaller ledge or gallery grouping, the Pop Art collection works well as lightweight framed pieces that won’t strain an adhesive strip. And if you’re weighing up a full refresh without touching the structure of the flat itself, One Day Doors & Closets’ guide to refreshing a space without renovation covers the same damage-free thinking applied to fixtures beyond art.
Why most renters overthink this more than they need to
The advice on hanging art in rentals tends to split into two unhelpful camps: people who insist you need to ask permission for a single Command strip, and people who ignore weight limits entirely and wonder why their canvas is on the floor by August. Neither camp is reading the actual manufacturer guidance, which is oddly specific and genuinely useful if you bother with it.
What gets overlooked most is the seven-day paint cure and the one-hour adhesion wait before hanging. Skip either and you’re not testing the adhesive, you’re testing your landlord’s patience. What gets overrated is drilling anxiety generally; a huge share of rental art disputes come from botched adhesive removal, not from holes.
My actual priority order: read your tenancy clause once, keep photos from day one, and treat the manufacturer’s instructions as non-negotiable rather than optional. Everything else, including how the wall looks, is the easy part.
— Lennard
Sources
- How to hang a picture without nails : 3M United Kingdom & Ireland
- 7 easy ways to hang art on walls without nails
- 8 alternative ways to display art
- How to decorate your rental without losing your deposit

Laat een reactie achter
Deze site wordt beschermd door hCaptcha en het privacybeleid en de servicevoorwaarden van hCaptcha zijn van toepassing.