
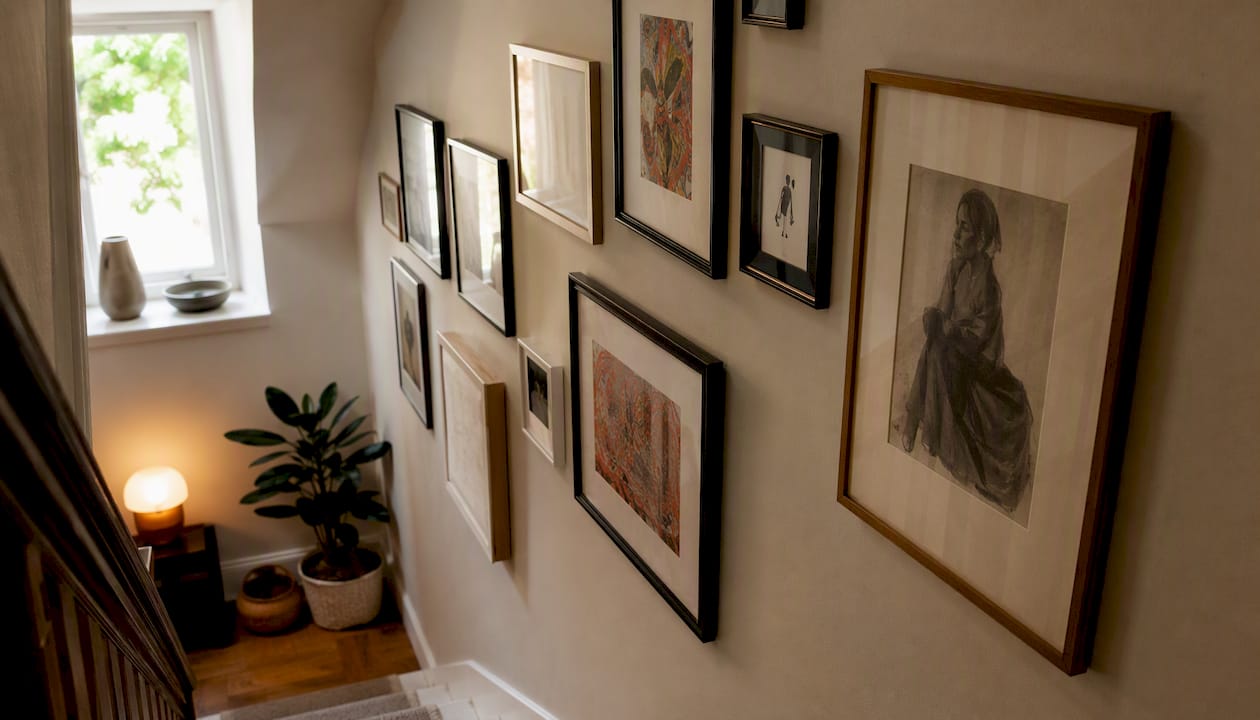
Follow one guiding diagonal with a level top edge, and your staircase gallery will look intentional rather than accidental. That single rule solves most of the problems homeowners run into: frames that appear to slide downhill, spacing that drifts, and arrangements that look fine close up but chaotic from the bottom of the stairs.
Here is the compact plan this article walks you through:
- Choose a layout template that suits your staircase shape and taste
- Measure the slope using rise and run, then calculate your diagonal
- Build kraft-paper templates for every frame before touching a drill
- Tape a centreline parallel to the handrail as your anchor guide
- Hang the largest or most central frame first, then expand outward
- Photograph from the bottom of the stairs before committing to any nail
That final photo is your sanity check. Three things to look for: frame centres sitting on a consistent slope, even gaps between every piece, and clear space above the handrail and below the top of each frame.
Key takeaways
A successful staircase gallery wall follows one guiding diagonal, uses centre-based spacing, and is always checked from the bottom of the stairs before a single nail goes in.
| Point | Details |
|---|---|
| Follow the diagonal rule | Keep frame centres on the slope line and the top edge level to prevent the sliding-downhill look. |
| Use centre-based spacing | Plot every frame centre, not its edge; a consistent 35–40 cm horizontal spacing prevents drift. |
| Mock up with kraft paper | Tape paper templates first and photograph from the foot of the stairs before drilling. |
| Match fixings to wall type | Use rawl plugs for brick or plaster, adhesive strips for renters; maintain 5–8 cm clearance from the handrail. |
| Frametheworld for bespoke art | Custom-sized, hand-painted canvases from Frametheworld let you commission the exact anchor piece your layout needs. |
Table of Contents
- What are the best staircase wall art layouts to use?
- How do you measure the slope and plot frame centres correctly?
- How do you choose frame sizes and spacing so nothing looks like it’s sliding?
- What hanging methods and fixings work best for UK staircase walls?
- Which layouts work best for different staircase shapes?
- What does a staircase gallery wall cost and how long does it take?
- Step-by-step checklist for hanging day
- A wall-art specialist’s view on what actually makes a staircase gallery work
- How Frametheworld can help you get the art right first time
- Sources
What are the best staircase wall art layouts to use?
Seven templates cover the vast majority of staircase decoration ideas you will encounter, from a single bold piece to a full salon-style cascade. Each one works differently depending on wall width, ceiling height, and how much visual energy you want the space to carry.
-
Diagonal (single) line. One row of frames whose centres follow the stair slope exactly. Calm, architectural, and the easiest to execute. Works best with several frames of similar size. Ideal for narrow stairwells or anyone who wants a clean, modern feel without fuss.
-
Staggered cascade. Two offset rows that both follow the slope but sit at different heights, creating a zigzag rhythm. More dynamic than a single line. Suits 8–14 frames and walls with at least 120 cm of usable height.
-
Tilted rectangle (organic salon). A loose cluster of mixed-size frames arranged within an imagined tilted rectangle, following the stair angle while the top edge stays level. This is the template most people picture when they think “gallery wall on stairs.” Eclectic, warm, and forgiving of imperfect spacing. Works well with a number of frames.
-
Stepped grid. Frames arranged in a strict grid, but each column steps up by one riser height. Precise and graphic. Requires frames of identical or very consistent sizes. Best for contemporary or Scandi interiors.
-
Salon cluster on landing, line on climb. A landing provides a natural pause, so use it. A loose salon cluster sits on the flat landing wall, and a single ascending line continues up the stair run. This transition reads as a deliberate design decision rather than two separate arrangements.
-
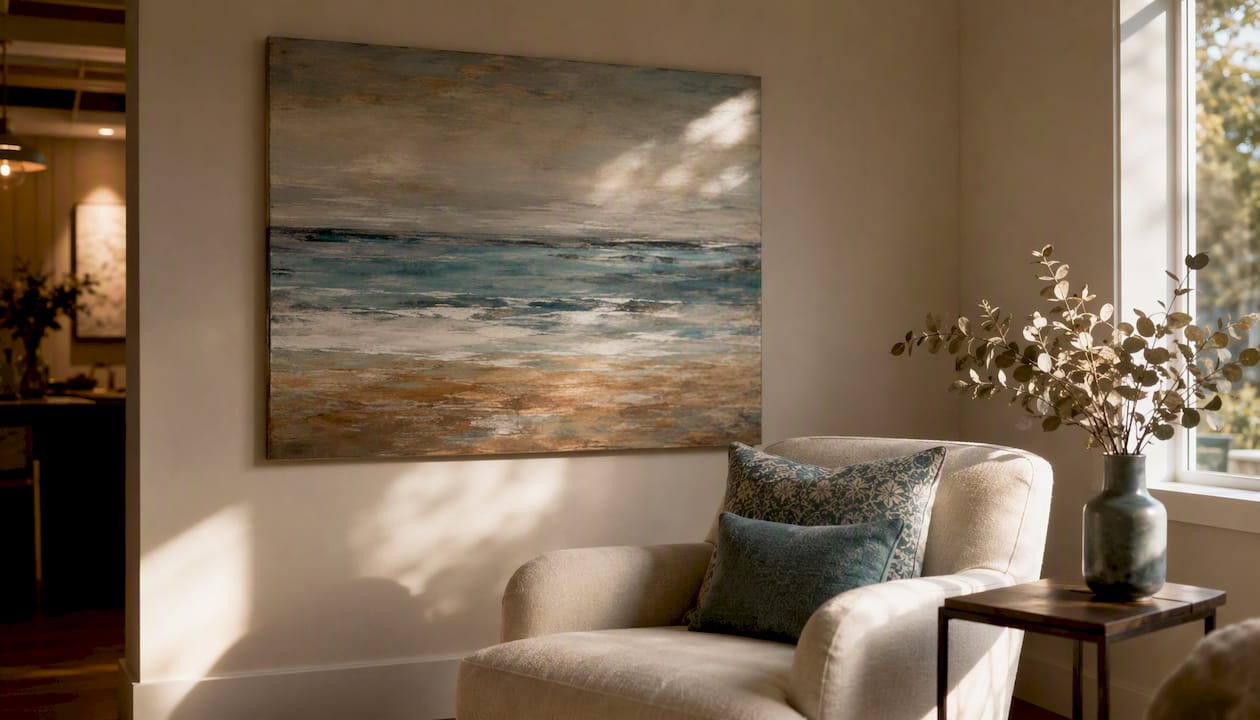
Single statement piece. One large canvas or framed print, hung at mid-height on the most visible section of the stair wall. No slope maths required. The piece needs to be genuinely large (typically 80 cm or wider) to hold the space. A hand-painted canvas works particularly well here because texture reads at a distance.
-
Two-line parallel band. Two horizontal rows, both level, running the full length of the stair wall. The rows do not follow the slope at all; instead they create a strong horizontal counter to the diagonal architecture of the stairs. Bold and graphic. Works best on tall walls where the rows can sit at comfortable eye level from both the bottom and top of the staircase.
Beyond framed prints, staircase walls also suit textile hangings, wall planters and eclectic objects where frames would feel too formal or where you want to add texture and depth.
How do you measure the slope and plot frame centres correctly?
This is where most DIY staircase gallery walls go wrong. People measure from frame edges rather than frame centres, and the arrangement drifts. Switching to centre-based spacing fixes the problem almost immediately.
The measurement method, step by step
-
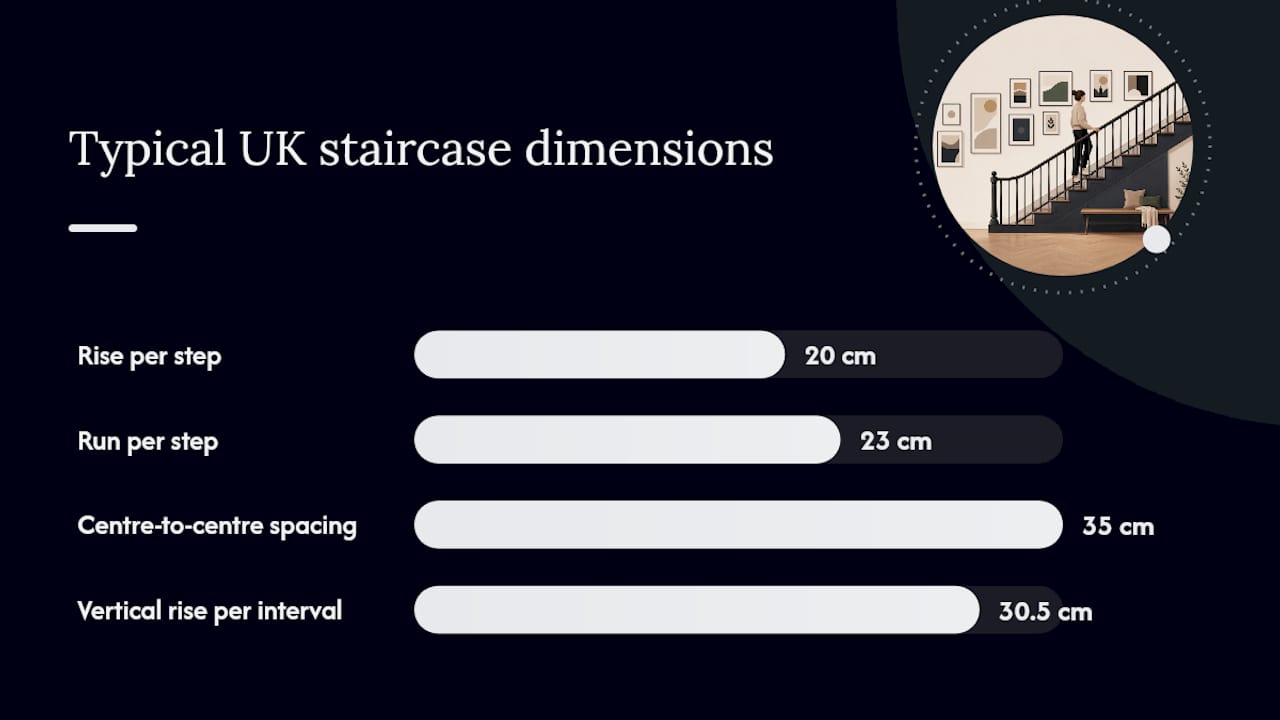
Measure three consecutive risers and treads. Use a tape measure to record the rise (vertical height of one step) and the run (horizontal depth of one tread). In a typical UK home, rise is around 19–22 cm and run is around 22–25 cm, though older properties vary considerably.
-
Calculate your slope ratio. Divide rise by run. A rise of 20 cm and a run of 23 cm gives a slope ratio of 0.87. This means for every 1 cm you move horizontally along the wall, your frame centres need to climb 0.87 cm vertically.
-
Convert to degrees if it helps. Use the arctangent of your ratio: arctan(0.87) ≈ 41°. Most UK staircases fall in roughly a 30–40° range, so a result near 40° is typical for older Victorian terraces with steeper stairs.
-
Set your first frame centre. Choose a comfortable viewing height for the anchor frame, typically 145–155 cm from the floor at the base of the stairs. Mark this point on the wall.
-
Plot subsequent centres. For each frame you add going up the stairs, move horizontally by your chosen centre-to-centre spacing (see Section 4) and vertically by that distance multiplied by your slope ratio. With a 35 cm horizontal spacing and a 0.87 ratio, each frame centre rises 30.5 cm above the previous one.
-
Tape a centreline. Run painter’s tape parallel to the handrail, passing through all your marked centre points. This line is your anchor. A taped centreline prevents sideways drift across a long arrangement and is one of the most useful tricks professionals use.
Worked example for a typical UK staircase
| Measurement | Value |
|---|---|
| Rise per step | 20 cm |
| Run per step | 23 cm |
| Slope ratio (rise ÷ run) | 0.87 |
| Approximate stair angle | 41° |
| Horizontal centre-to-centre spacing | 35 cm |
| Vertical rise per spacing interval | 30.5 cm |
Tools you will need: tape measure, spirit level or laser level, painter’s tape, kraft paper, marker pen, masking tape, and ideally a second person to hold templates while you step back and check.
Pro Tip: Tape your centreline before you cut a single template. It takes five minutes and saves you from the most common mistake: an arrangement that looks level close up but tilts sideways when you see it from the hallway below.
How do you choose frame sizes and spacing so nothing looks like it’s sliding?
Scale and spacing are where a staircase gallery either looks curated or looks like a car boot sale. The slope amplifies every inconsistency, so the rules here are tighter than on a flat wall.
-
Anchor frame size. Your largest frame should be no taller than roughly one-third of the usable wall height. On a wall with 180 cm of usable height, that means a maximum anchor frame of around 60 cm tall. Going bigger than this makes the arrangement feel top-heavy.
-
Supporting frame sizes. Mix one or two medium frames (30–50 cm) with smaller accent pieces (20–30 cm). Avoid using too many different sizes in one arrangement, or the eye has nowhere to rest.
-
Centre-to-centre spacing. Keep horizontal centre-to-centre spacing constant at around 35–40 cm for a standard gallery arrangement. Tighter spacing (25–30 cm) suits smaller frames and narrower walls. Wider spacing works for large statement pieces where you want breathing room.
-
Gap between frame edges. A consistent gap of 5–8 cm between frame edges reads as deliberate. Below 4 cm feels cramped; above 10 cm and the arrangement starts to fragment. Pick one gap and commit to it across the whole display.
-
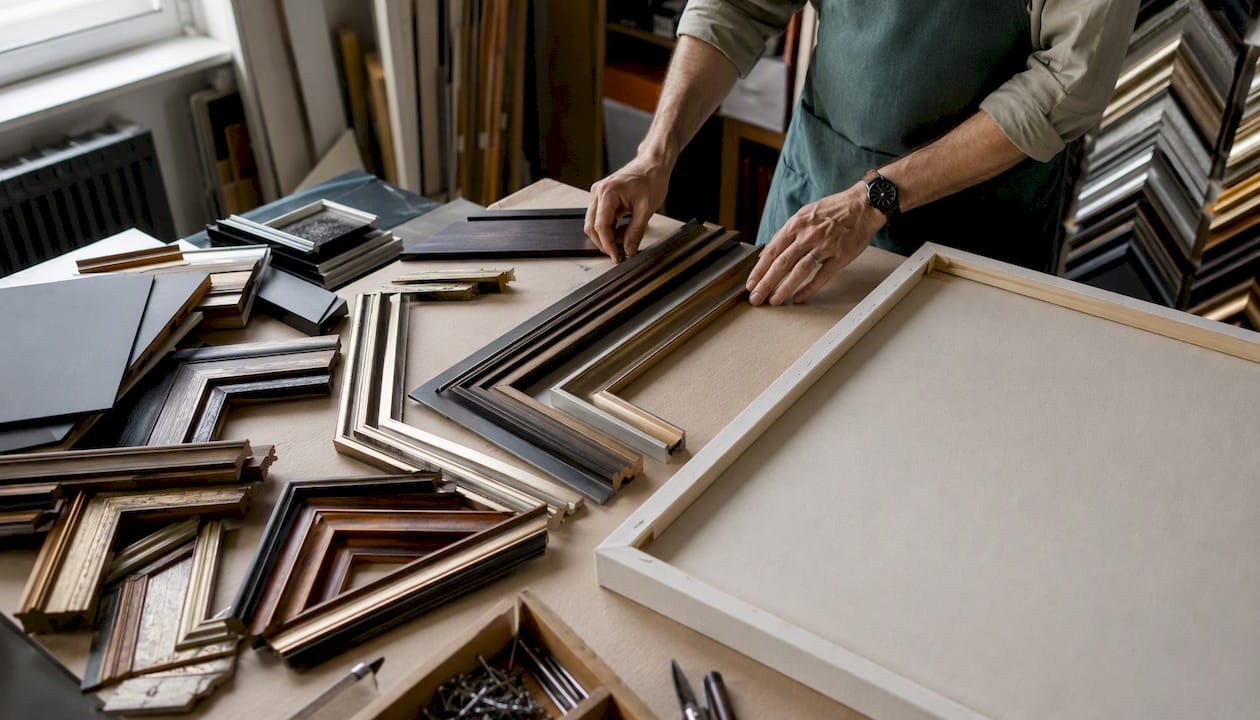
Cohesive finishes. Repeating the same frame finish, mat width, or a couple of standard frame sizes is what makes mixed-size gallery walls read as a single collection rather than a random assortment. You do not need matching frames, but you do need a repeated detail. Black frames with white mats, for instance, tie together prints of wildly different subjects and sizes. For further guidance on selecting pieces that work together, the art selection checklist from Frametheworld is worth reading before you buy.
Pro Tip: If you have one large boss frame surrounded by smaller pieces, add a mat to the smaller frames to increase their perceived size. A 5 cm white mat on a 20 × 25 cm print brings it visually closer to a 30 × 35 cm frame. This is cheaper than buying bigger frames and often looks more considered.
What hanging methods and fixings work best for UK staircase walls?
UK homes vary enormously: Victorian plaster, 1930s brick, 1970s cavity walls, and modern plasterboard all behave differently. Getting the fixing right matters more on a staircase than anywhere else in the house, because a falling frame on a stair flight is a genuine hazard.
-
Light frames (under 2 kg). Adhesive picture hooks or self-adhesive strips such as Command strips handle this weight on plasterboard or smooth plaster. Check the manufacturer’s weight rating and use the correct number of strips per frame. These are the go-to options for renters.
-
Medium frames (2–5 kg). Use a picture hook with a hardened nail on plaster walls, or a wall plug (rawl plug) and screw on brick or block. A 6 mm rawl plug with a 4 mm screw is standard for this weight range.
-
Heavy frames (over 5 kg). Locate a stud with a stud finder before drilling into plasterboard. On solid walls, use a rawlbolt or a larger wall plug rated for the load. If in doubt, consult a handyman.
-
Picture rails. Many older UK homes have picture rails, and they are genuinely useful on staircases. Hooks slide along the rail, so you can adjust positions without new holes. Weight limits vary by rail condition, so check before loading them with heavy frames.
-
Safety clearances. GalleryPlanner recommends at least 10–15 cm above the stair nosing to avoid elbow contact, and 5–8 cm of horizontal clearance from the handrail so hands can grip freely. Keep frames well clear of light switches and wall sconces.
-
Stop frames shifting. Stick self-adhesive felt bumpers to the bottom corners of every frame. For valuable pieces, museum wax (a removable putty) on the bottom two corners prevents tipping without damaging the wall.
-
Ladder safety. Never lean a ladder directly against the staircase wall. Use a staircase ladder platform or a combination ladder set to the correct angle for the stair pitch. Have a second person steady the base.
Pro Tip: Before drilling a single hole, check for pipes and cables with a detector. On a staircase wall, services sometimes run at unexpected heights because the stair geometry shifts where builders route them.
Which layouts work best for different staircase shapes?
The template you choose should match the geometry you are working with, not just your aesthetic preference.
Straight run
A straight staircase is the most straightforward to work with. The diagonal line and staggered cascade both suit it well. Scale frames to the wall width: on a narrow stairwell (under 90 cm wide), keep frames small (20–40 cm) and use a single diagonal line. On a wider wall, a staggered cascade or tilted rectangle gives you more to work with. For detailed sizing guidance relative to wall dimensions, Frametheworld’s sizing guide covers the proportions clearly.
L-shaped or U-shaped staircases with landings
Treat the landing as a deliberate pause in the composition. A salon cluster on the landing wall, then a single ascending line continuing up the next flight, creates a natural rhythm. The cluster can be looser and more eclectic because the flat wall gives you more freedom. Keep the frame finishes consistent between the landing cluster and the stair line so the two sections read as one scheme.
Narrow or low-ceiling stairwells
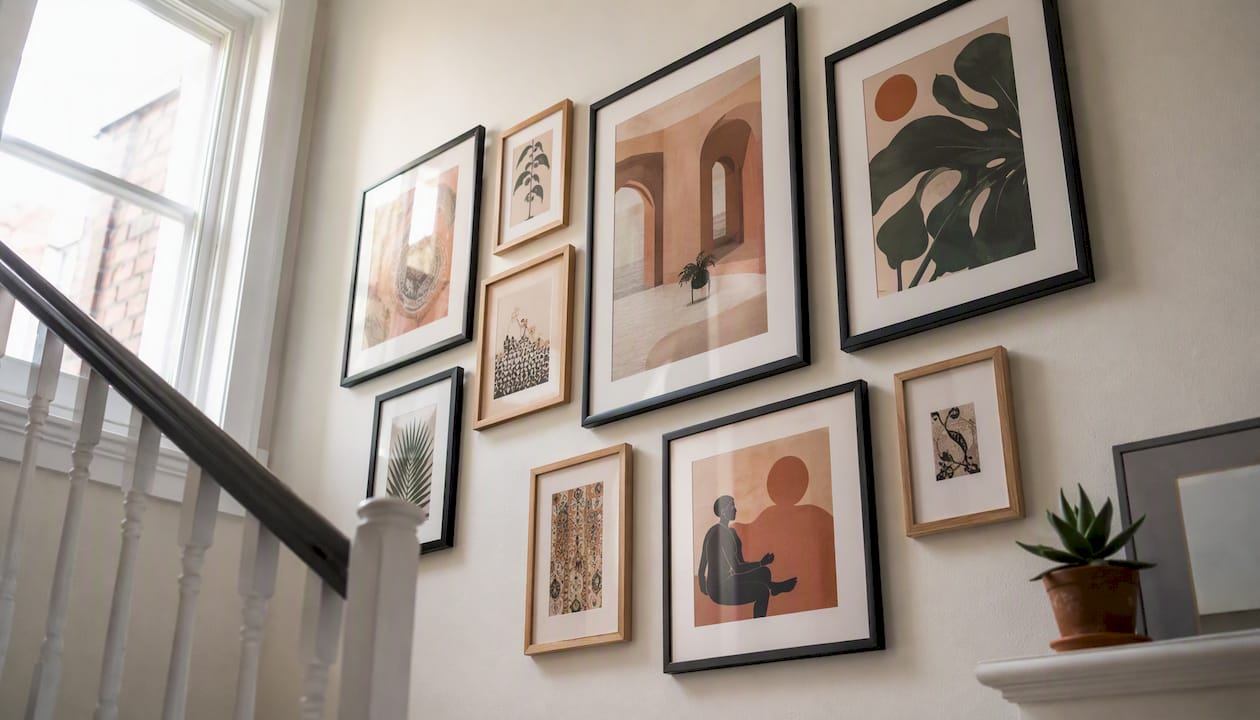
Smaller frames, lighter profiles, and more breathing space between pieces. A thin black or natural wood frame reads less heavily than a chunky ornate one. Stick to a single diagonal line rather than a cluster, and resist the urge to fill every centimetre of wall. Negative space is not wasted space on a narrow stair. Wall art selection tips from Homable cover how to approach scale in constrained spaces.
Curved or winding stairs
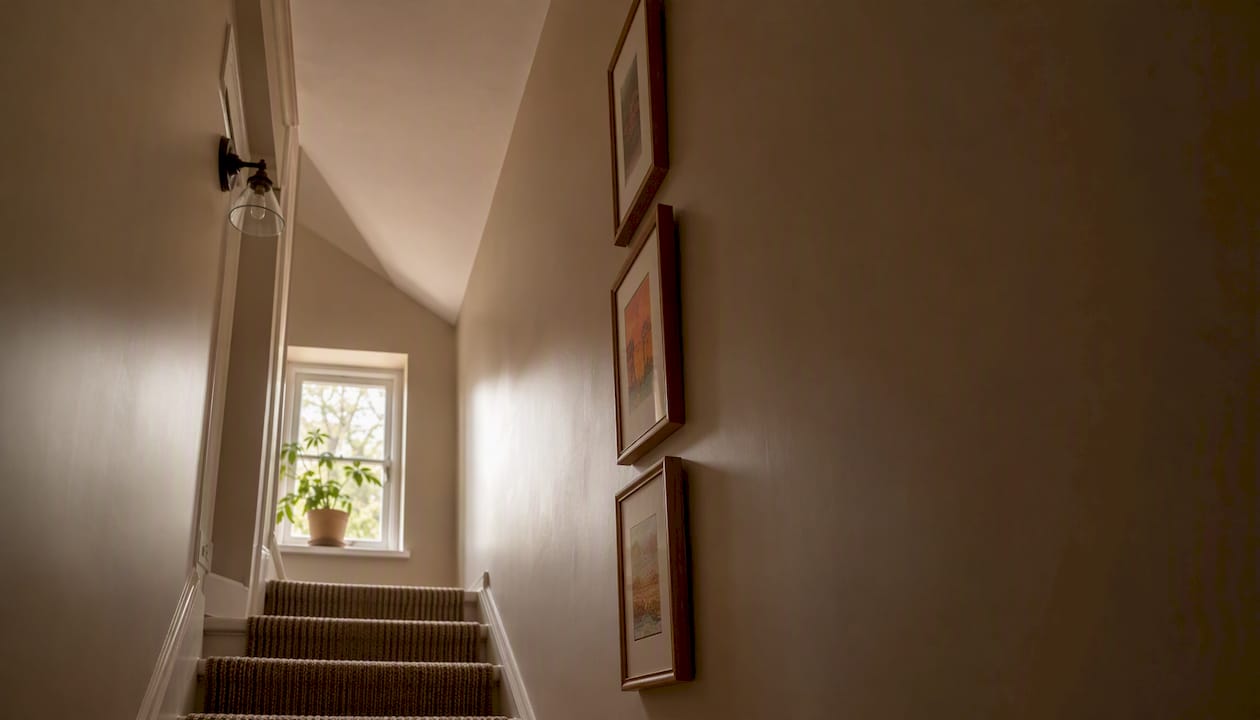
Treat each curved section as its own mini-wall. Template each section separately, because the slope angle can change as the curve tightens. Tall, narrow vertical pieces or a single large statement canvas often work better than a multi-frame arrangement on a tight curve, where consistent spacing becomes very difficult to maintain.
What does a staircase gallery wall cost and how long does it take?
Setting realistic expectations before you start saves a lot of frustration.
Planning and mock-up time (DIY). Allow 2–3 hours to measure, calculate your slope, cut kraft-paper templates, and tape them to the wall. This is not time to rush: a careful mock-up saves you from filling unnecessary holes.
Physical hanging time. With a helper and all your fixings ready, hanging 8–12 frames typically takes 3–4 hours. Larger arrangements or tricky wall types add time.
Frame costs. Ready-made frames from UK high-street retailers run from around £8–£25 for small sizes up to £40–£80 for larger formats. Custom framing from a specialist framer costs considerably more: a bespoke frame for a 60 × 80 cm print can run from £80 to £200 or more depending on moulding and glazing choice. The wall art framing process guide from Frametheworld explains what drives those costs and where the quality differences lie.
Fixings. A pack of rawl plugs, screws, and picture hooks costs under £10. Adhesive strips for a full arrangement of 10–12 frames cost around £15–£25 depending on brand and weight rating.
Professional hanging. A handyman or art installer in the UK typically charges £30–£60 per hour. A full staircase gallery installation of 10–15 frames usually takes 3–5 hours for a professional, so budget £90–£300 for labour.
- Save on: frames for smaller accent pieces (ready-made is fine), fixings (own-brand rawl plugs perform as well as premium ones), and adhesive strips for light frames.
- Invest in: custom or bespoke framing for your anchor piece, especially if it is a large canvas or a piece of real value. The right frame on a boss piece lifts the whole arrangement.
Step-by-step checklist for hanging day
Follow this in order and you will minimise unnecessary holes and avoid the most common mistakes.
- Measure your staircase. Record rise, run, wall width, and usable wall height. Calculate your slope ratio.
- Choose your template. Pick one of the seven layouts and decide your frame count and sizes.
- Cut kraft-paper templates. Trace each frame onto kraft paper, cut it out, and label it (frame name, hanging-point location, distance from top edge to hook).
- Tape templates to the wall. Use painter’s tape. Start with the anchor frame at your chosen centre height, then work outward following your slope ratio.
- Photograph from the bottom of the stairs. This is the definitive visual check: step back to the foot of the stairs and photograph the full arrangement. Check that frame centres follow the slope, gaps are consistent, and nothing feels crowded near the handrail.
- Adjust templates before drilling. Move any template that looks off. It costs nothing to reposition painter’s tape.
- Mark hanging points through templates. Use a pencil or bradawl to mark the exact hook or screw position through each paper template.
- Remove templates and fix hardware. Drill, plug, and screw (or apply adhesive strips) at each marked point.
- Hang anchor frame first. Check it is level with a spirit level. This frame sets the standard for everything else.
- Hang remaining frames outward from the anchor. Check level and spacing after each addition.
- Final checks. Confirm all clearances from the handrail and stair nosing, check spacing consistency, and press felt bumpers onto the bottom corners of every frame.
Pro Tip: After hanging, take the same photograph you took during the mock-up stage. Compare the two side by side. Any frame that has drifted from its intended position will be immediately obvious, and you can correct it before the arrangement sets in your memory as “fine.”
A wall-art specialist’s view on what actually makes a staircase gallery work
The most common mistake I see is not the one people expect. It is not wrong spacing or a misread slope. It is choosing an anchor piece that is too small. Homeowners pick a frame they love, hang it at the right height, and then build outward, only to find the whole arrangement feels lightweight and tentative. The anchor frame needs to be genuinely large enough to hold the wall, not just large relative to the other frames in the arrangement.
The second pitfall is inconsistent frame finishes. A black frame, a gold frame, a natural oak frame, and a white frame in the same arrangement do not create an eclectic look; they create visual noise. Pick two finishes at most, and let the artwork itself provide the variety. Bespoke framing is worth the cost when you have a large central piece that will be seen from a distance, because a custom moulding chosen to match your interior palette does something a ready-made frame simply cannot.
When does commissioning bespoke art make sense? When the wall size is unusual, when you want a specific palette that off-the-shelf prints cannot match, or when you want a single large canvas that fills the anchor position with real presence. A hand-painted piece at 80 × 100 cm or larger reads entirely differently from a printed reproduction at the same size: the texture is visible from the bottom of the stairs, and it gives the whole arrangement a reason to exist. For readers planning a larger installation or working with a contractor, the art placement workflow guide covers the professional approach in detail.
How Frametheworld can help you get the art right first time
Measuring, templating, and hanging are skills you can learn. Choosing art that actually works in the space is harder, and it is where most staircase gallery walls fall short long after the frames are up.
Frametheworld offers hand-painted canvases in custom sizes, so if your anchor position calls for a 90 × 70 cm piece in a specific palette, you can commission exactly that rather than compromising on a standard size. Frame finishes, mat widths, and colour direction are all part of the conversation. The Wabi Sabi collection is particularly well suited to organic salon layouts where texture and tonal depth matter, while the Pop Art collection gives maximalist and eclectic arrangements the bold colour anchor they need. Browse the collections, note the dimensions that fit your slope calculation, and get in touch for a bespoke sizing conversation before you order.
Sources
- Staircase Gallery Wall Layout: Plan, Measure, Hang
- Staircase Gallery Wall Layout Guide — GalleryPlanner
- Staircase gallery wall — slope math, spacing, layouts
- 30 Staircase Wall Ideas You Never Thought to Try
- 50 creative staircase decor ideas

Laat een reactie achter
Deze site wordt beschermd door hCaptcha en het privacybeleid en de servicevoorwaarden van hCaptcha zijn van toepassing.